Create a Project
Once your Workspace has been set up, you can create your first Project. Projects are all the things your team will be working on, and can be organized however you’d like to suit your needs. For example, a software engineering team may choose to break their work into Projects like “Frontend”, “Backend”, “UX/UI” and “Testing”. A small business may choose to create Projects like “Inventory”, “Marketing,” and “Design”.
Creating your first Project
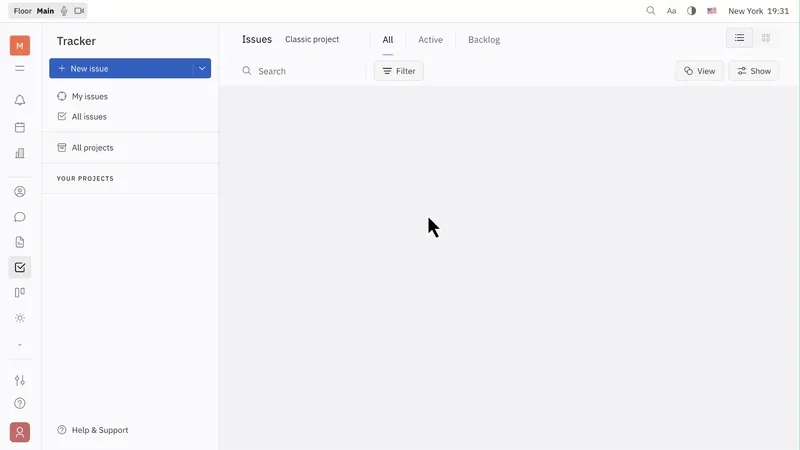
Select the Tracker view by clicking the checkbox icon on the left sidebar, and ensure the side panel is open by clicking the horizontal lines at the top left.
Click the + icon that appears when hovering over “Your Projects” in the side panel. Alternatively, click the dropdown menu next to the + New issue button and select Create project. This will open a dialog where you can enter some initial settings for your Project. After entering your desired settings, click Create.
Project settings
When creating or editing a Project, you can configure the following settings:
Project type: The default Project type is “Classic project”. This is currently the only type available and comes with settings already optimized for the Huly platform.
Project title: A title for your Project.
Identifier: An abbreviation used to identify issues created for this Project. This is automatically generated when you enter your Project title, but can be customized.
Description: A description of your Project.
Choose icon: Select an icon to represent your Project, choosing from either a default icon with a custom color or an emoji.
Default assignee for Issues: Select a member who you’d like to be assigned Issues by default.
Default Issue status: Select the status all new Issues should default to when they are created.
Owners: Select the owner of the Project, who will have permissions to edit the Project details.
Make private: Toggle whether you’d like this Project to be visible only to members.
Members: Select all members for this Project.
Auto join: Toggle whether you’d like new members to be automatically added to this Project.
Creating a Project:
Next Steps
After creating a Project, it’s time to begin creating Issues for specific tasks that need to be completed. Click “Next” to learn how to create your first Issue.