Recruiting
Huly’s recruiting module can be used to manage job vacancies, applications and talents within your workspace. Like other Huly modules, recruiting is interwoven with the rest of your workspace, allowing you to connect your recruiting data to your task tracker and chats.
Note: The recruiting module is disabled by default for new workspaces, as this feature set is not relevant for many users. If you’d like to enable the recruiting module, please contact our support team through Slack.
Creating vacancies
To create a vacancy for a job position, navigate to Vacancies in the left sidebar and click + Vacancy in the upper right corner.
Add a title and description for the vacancy. You can also add a due date, location (remote, or the name of a city, for example), and any attachments needed. You may also wish to select members who will be responsible for managing the vacancy. Once you’ve finished, click Create.
Managing vacancies
Once you’ve created a vacancy, you’ll be able to see several additional options, including:
- Auto join - automatically adds new workspace members to the space
- Company - connect the vacancy to a company
- Collaborators - collaborators will receive notifications related to any activity on the vacancy (learn more about collaborators)
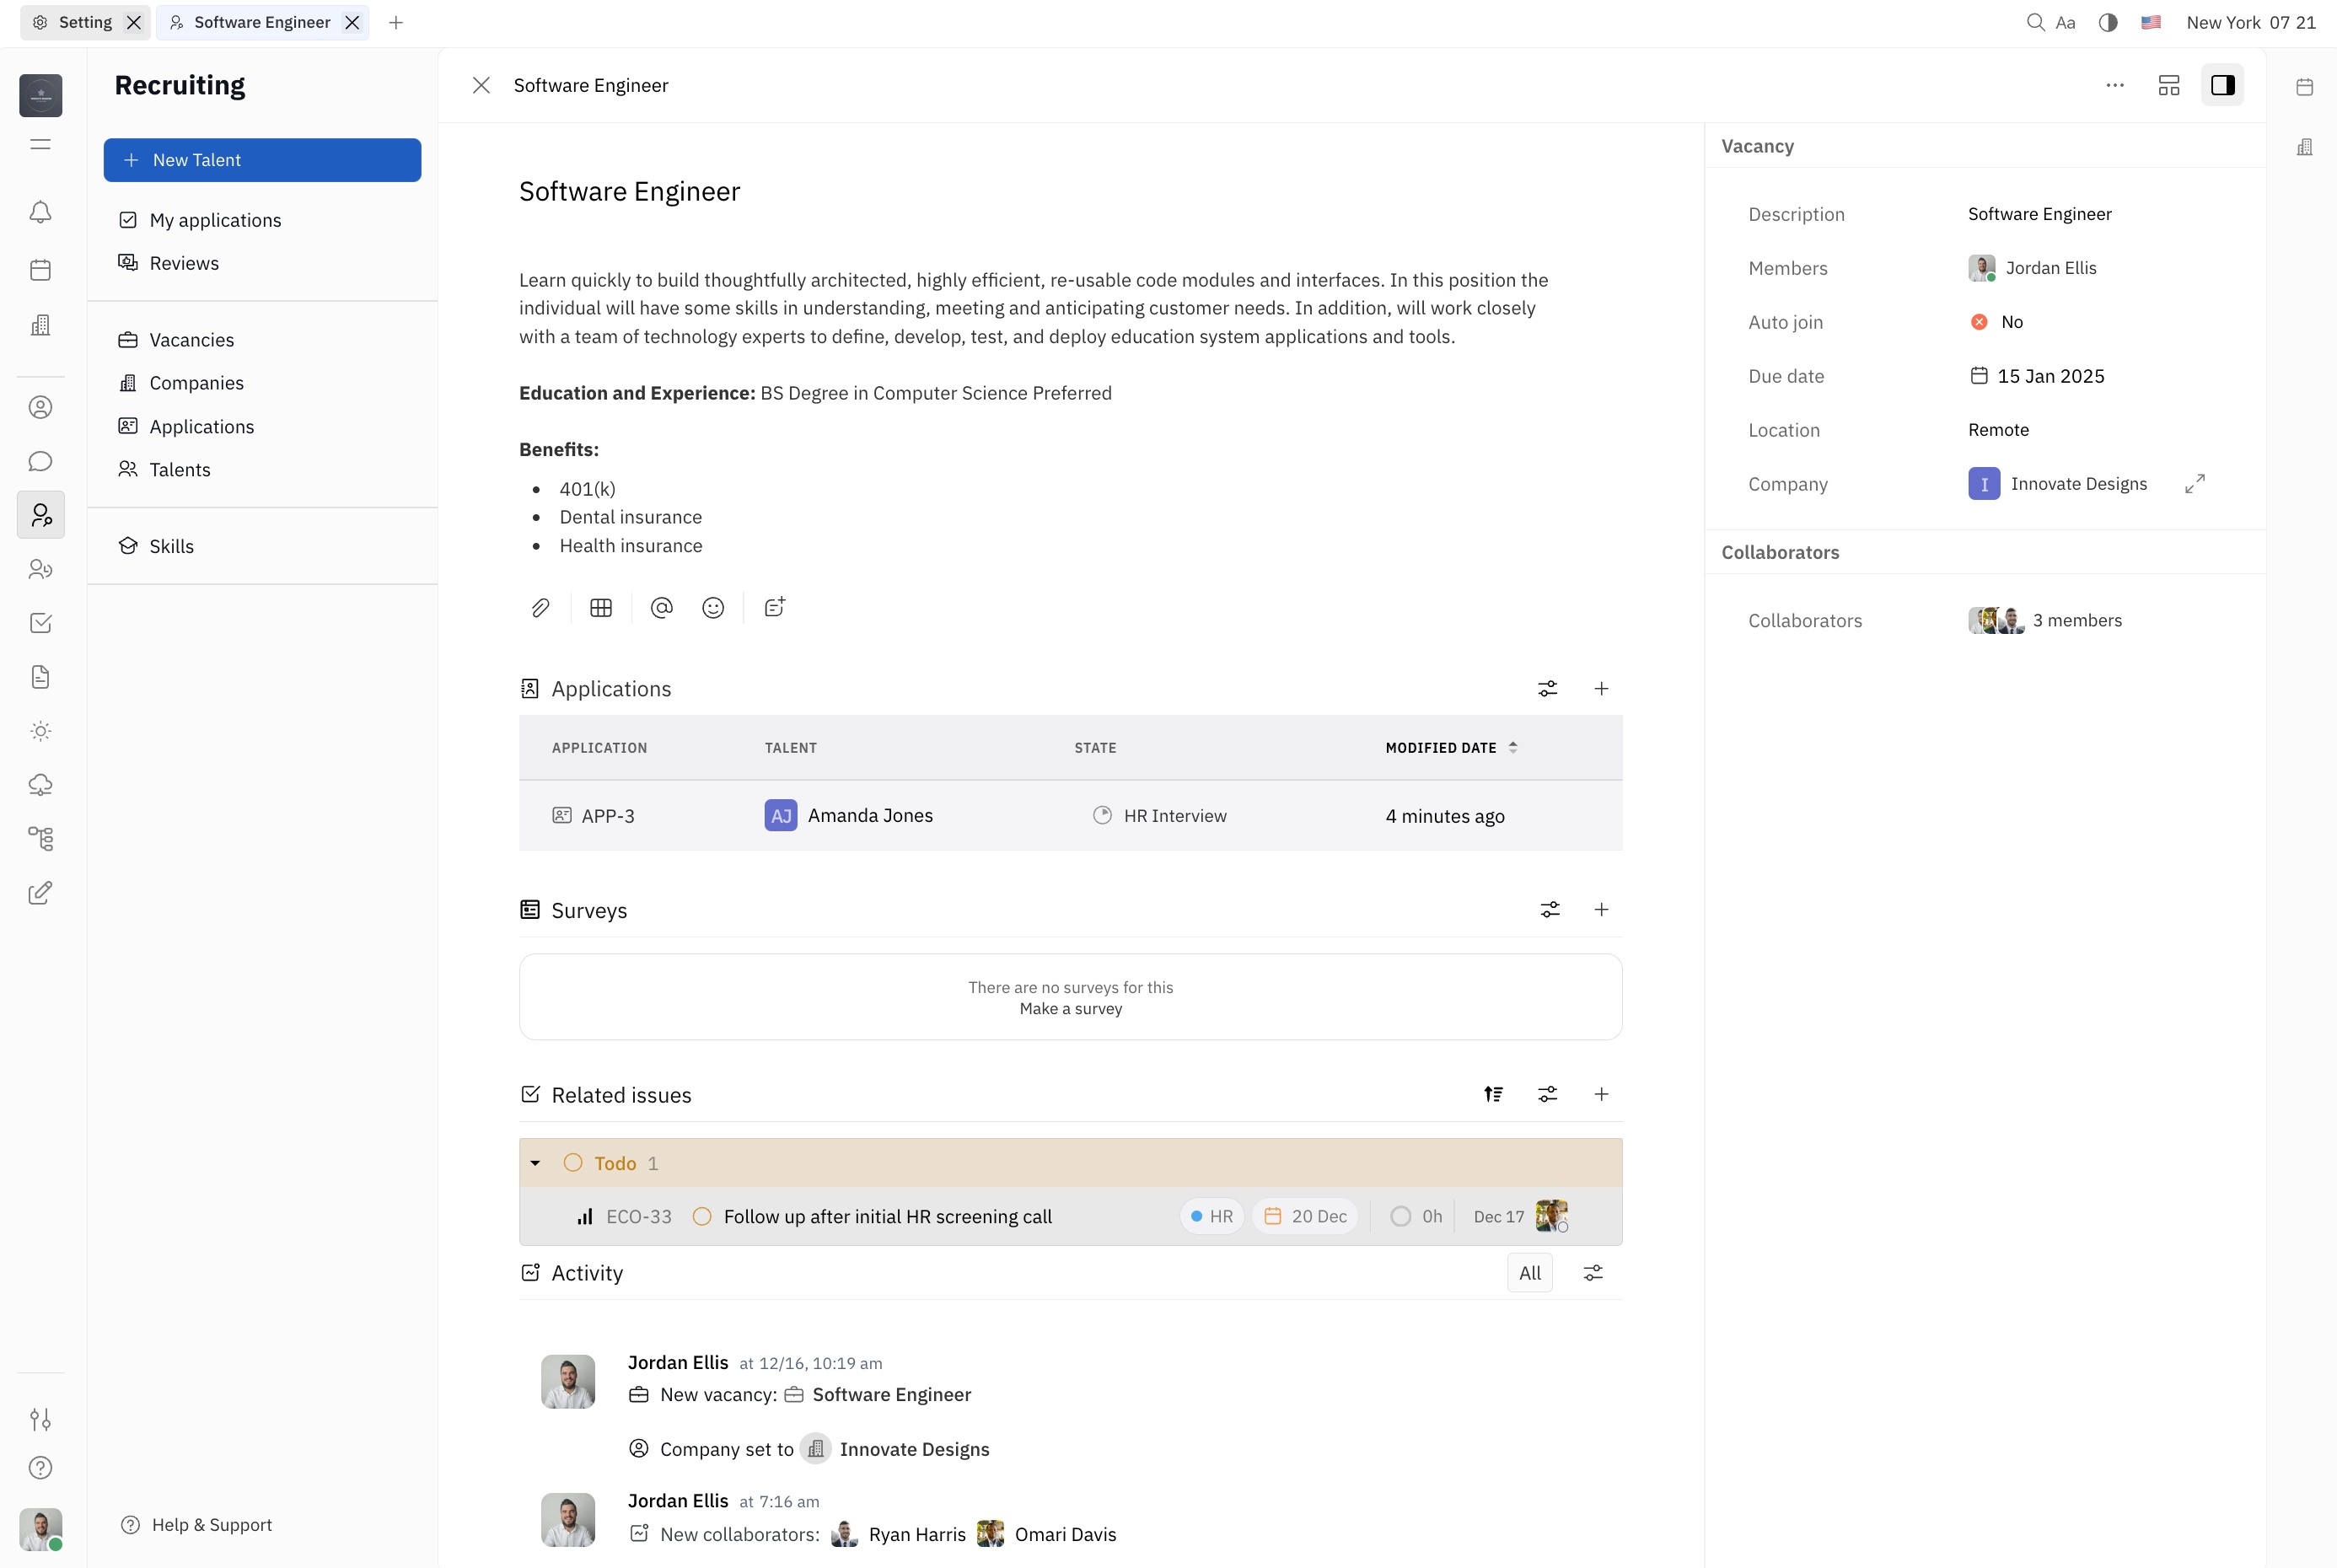
You’ll also find the following sections on the vacancy page:
- Applications - Add an existing application or create a new one.
- Surveys (in development) - Attach an existing survey or create a new one.
- Related issues - See all issues from your Tracker that are related to the vacancy, or create a new related issue (learn more about related issues).
- Activity - See a record of all activity related to the vacancy.
Creating talents and applications
In Huly, talents are a type of contact. Talents can be connected to vacancies through applications.
Talents can be created in 3 ways:
- Converting an existing contact to a talent by creating an application
- Creating a new talent at the time of creating an application
- Creating a new talent from the recruitment module without any applications
1. Converting an existing contact to a talent by creating an application
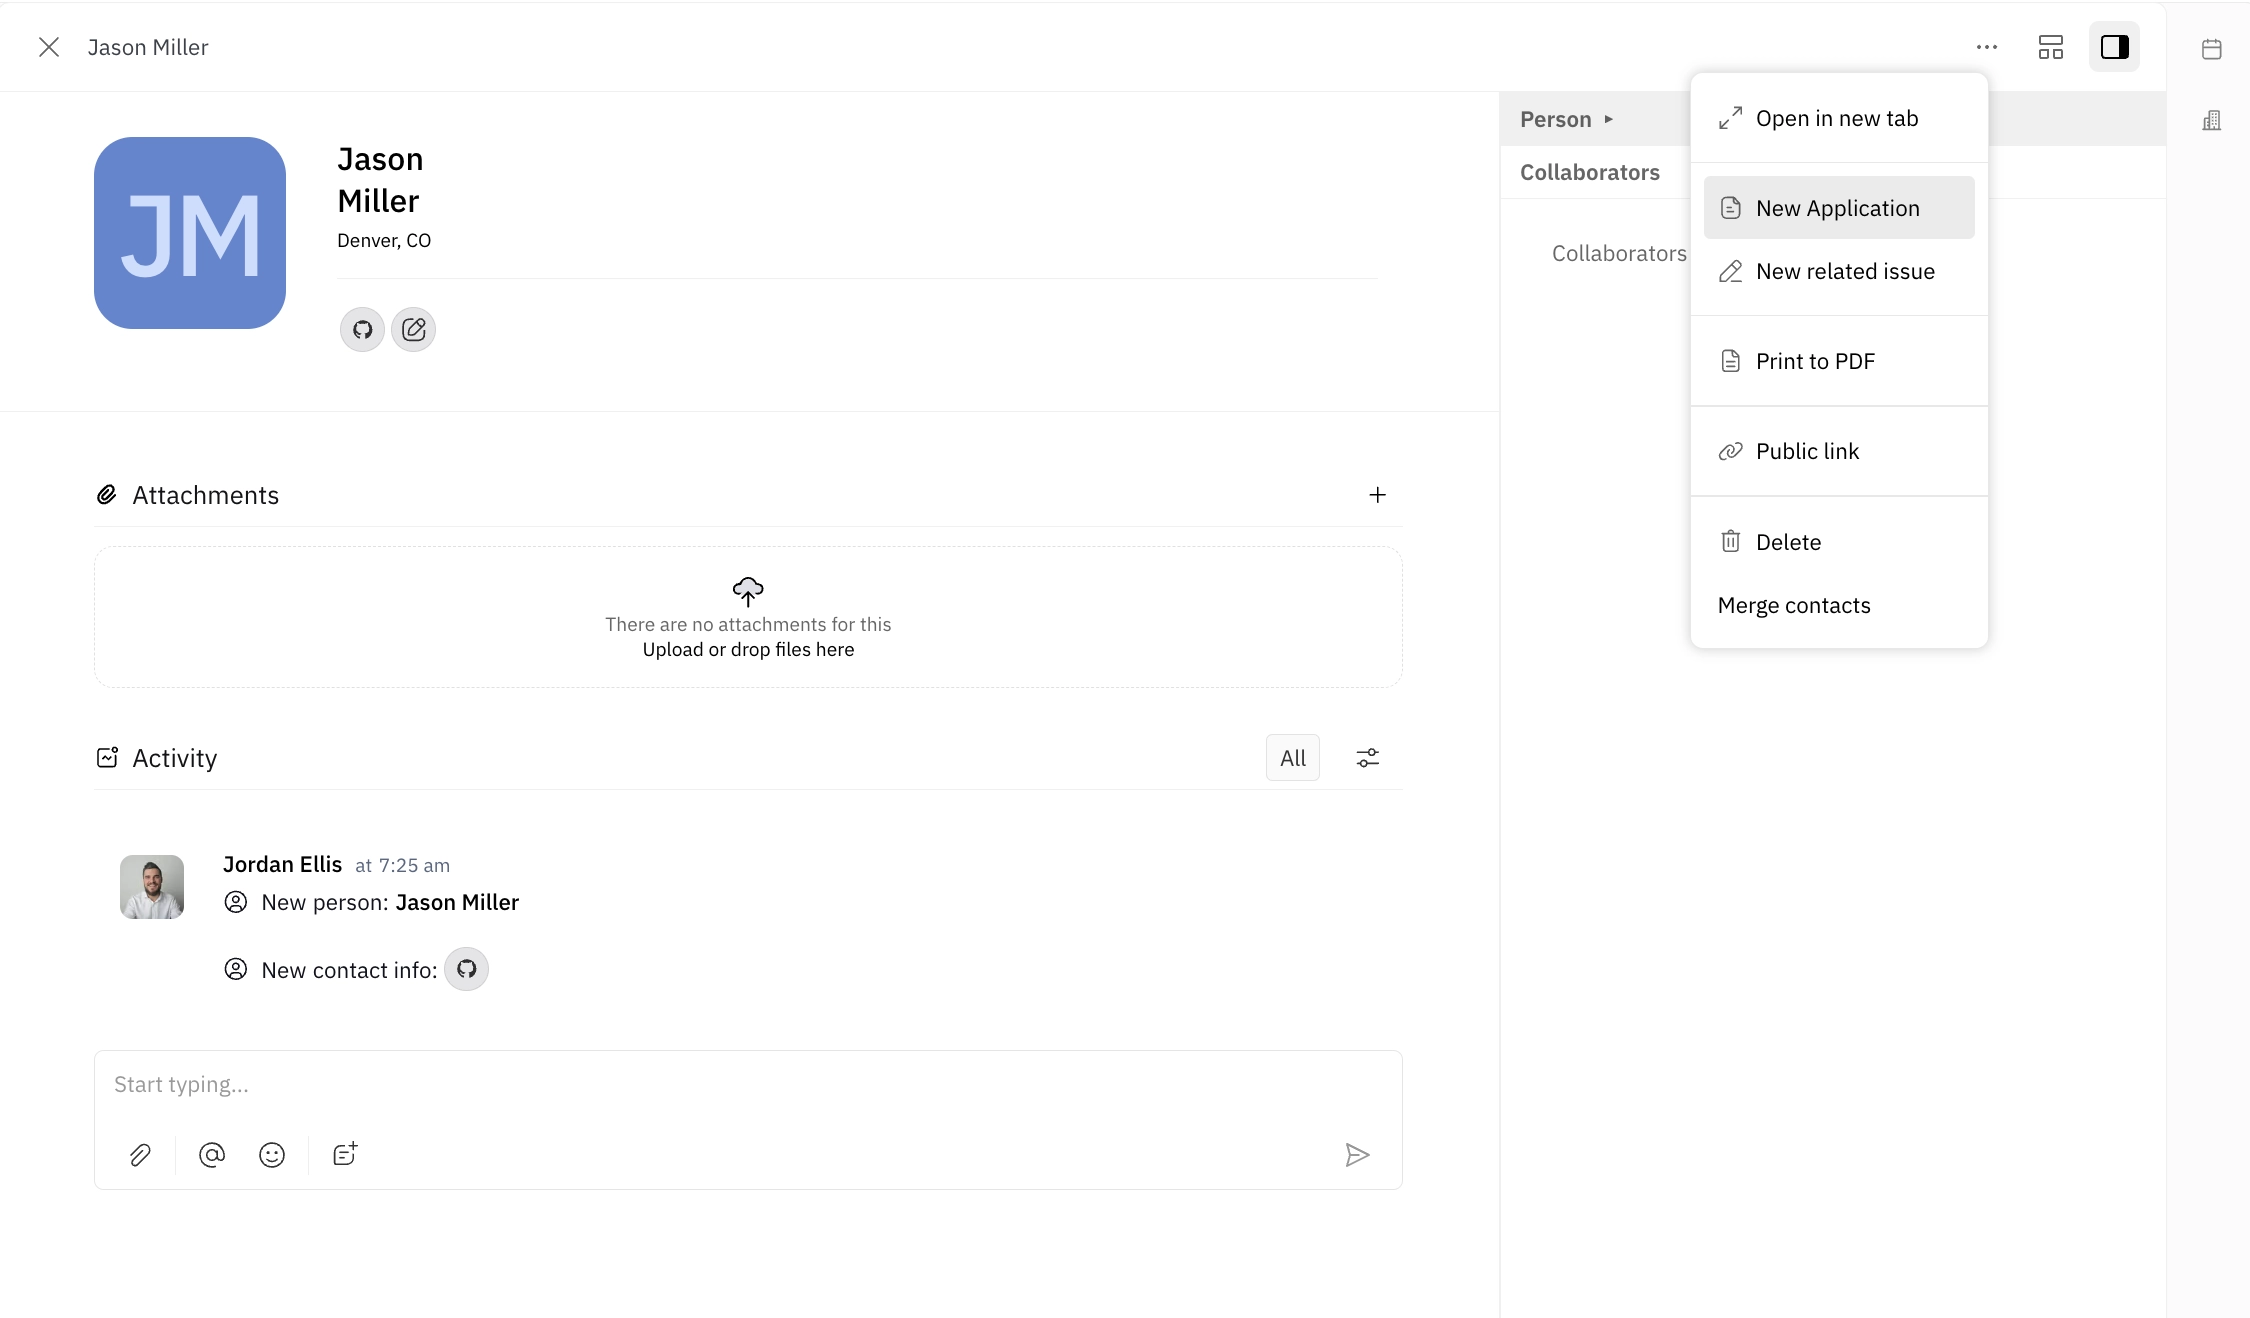
To convert an existing contact to a talent, you’ll need to create an application for that contact. In the contacts module, navigate to the contact’s page, open the settings menu and click New Application.
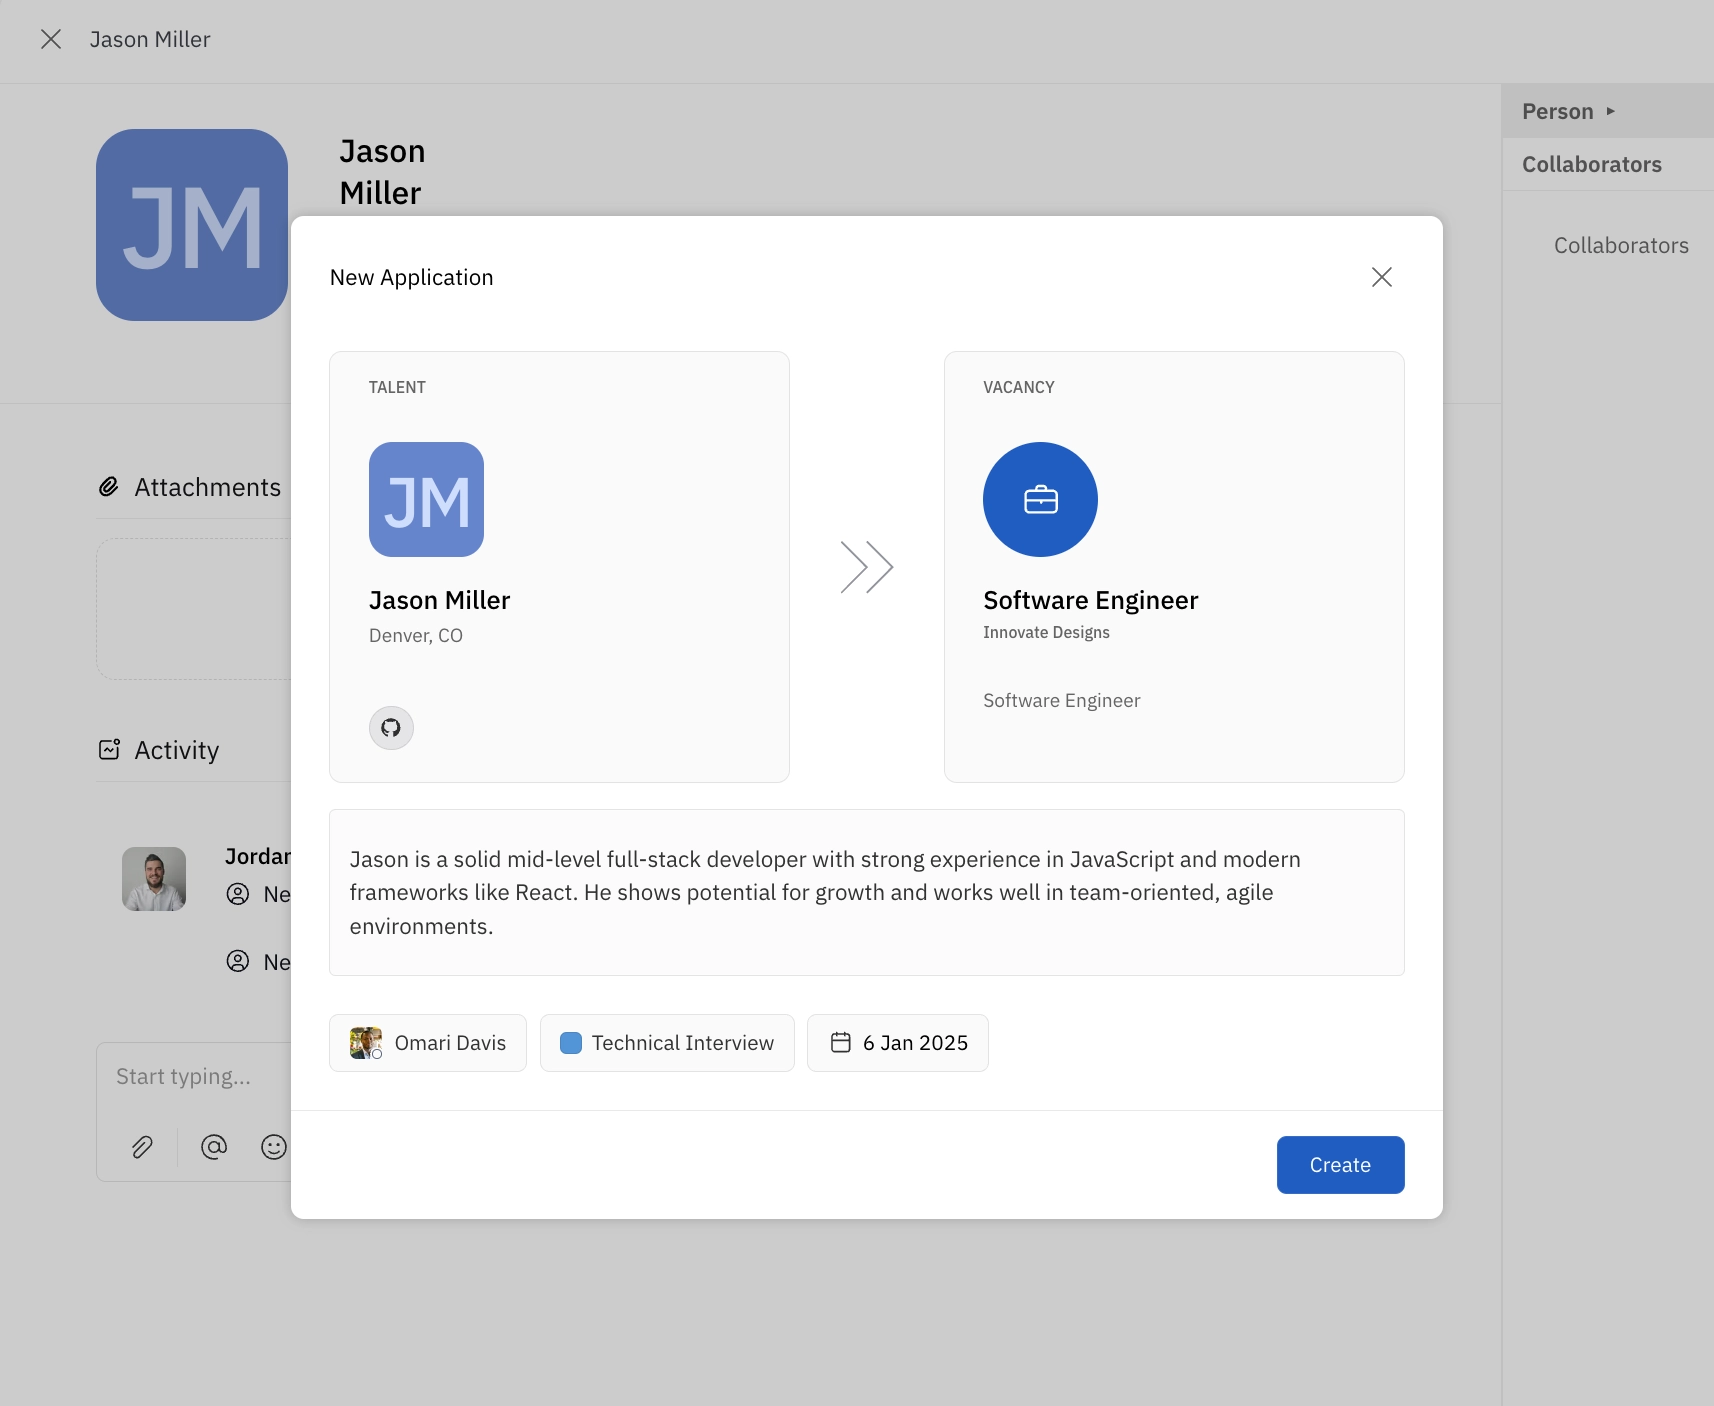
From here, you can select a vacancy to submit the application to. You can choose an assigned recruiter, set a status for the application, and indicate a start date if applicable. If you choose to add a description, this will appear as a comment on the application page.
After creating the application, you’ll notice that the Talent label is applied to the contact. You’ll see their contact page has expanded to include several additional profile sections.
2. Creating a new talent when creating an application
If you do not already have a contact for a talent, you can create a contact for them at the same time that you create their application.
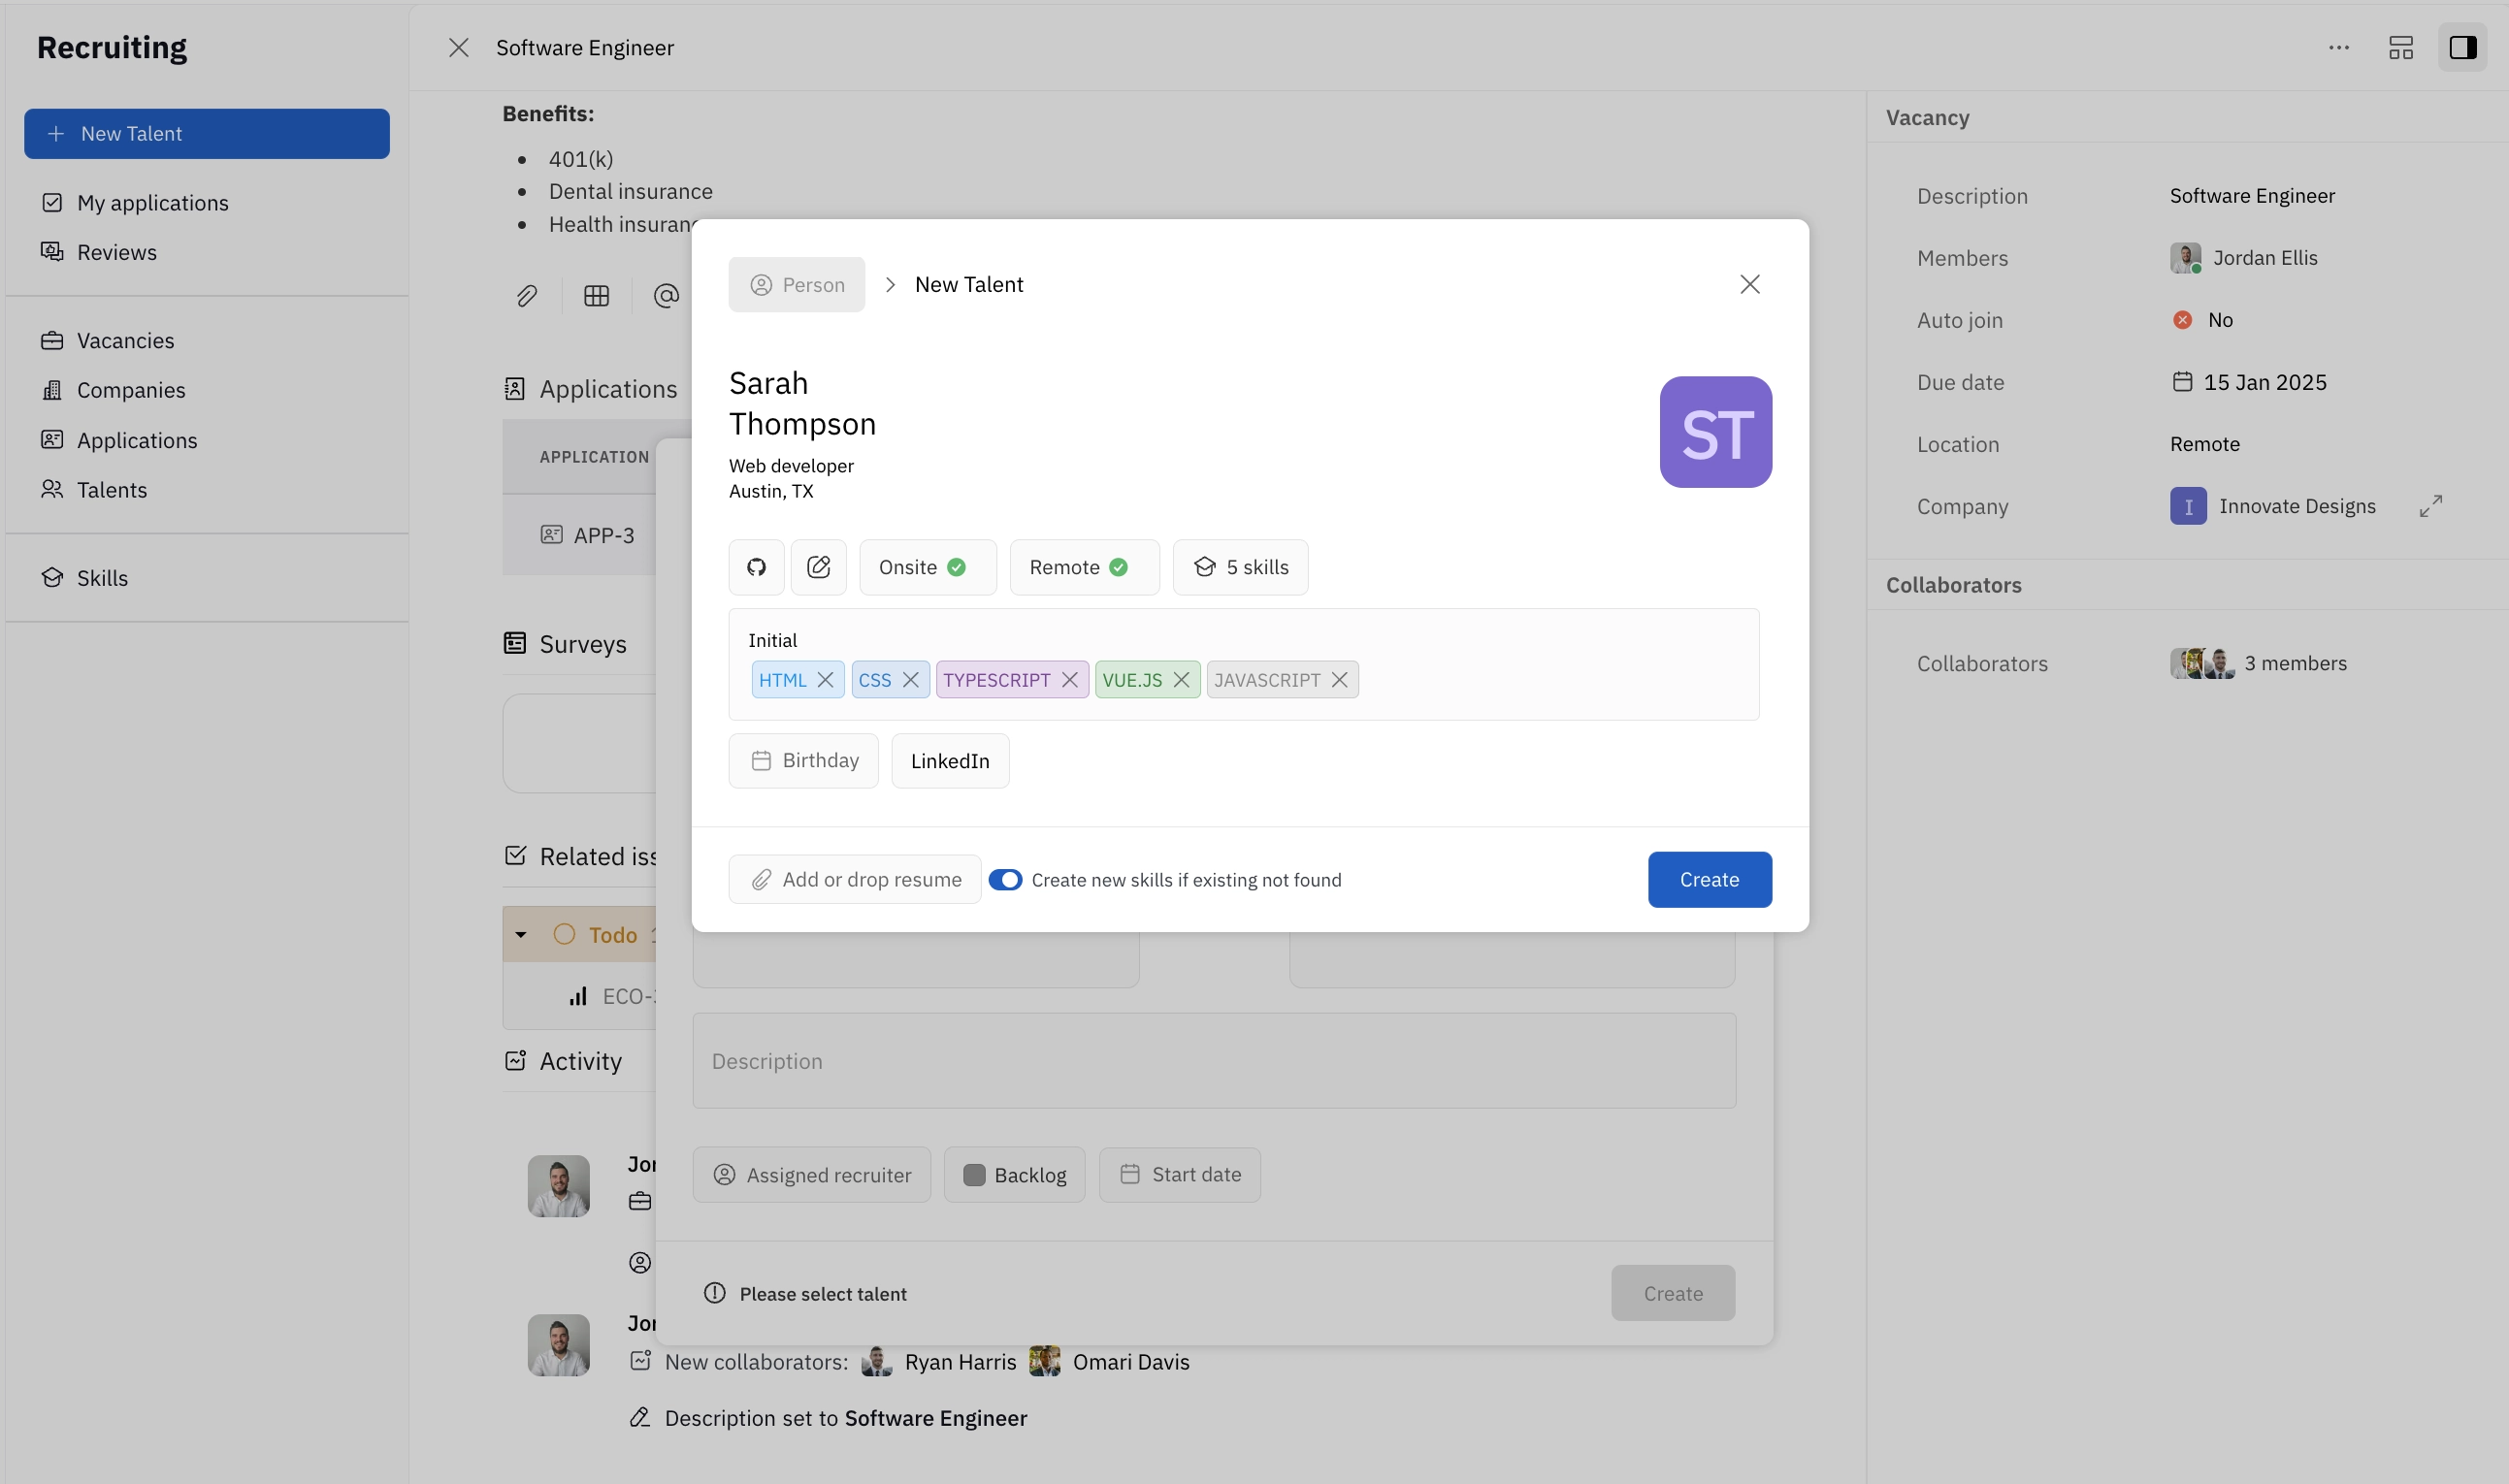
In the recruiting module, navigate to any vacancy page and click the + button in the Applications section. Click the block for talent on the left side, then click the + to create a new talent.
Fill out talent details, such as name, title, location, social links, onsite vs. remote availability, and resume. You’ll also be able to select skills from the dropdown menu (more on skills below). Click Create.
Now, if you navigate back to your contacts module, you’ll see a contact has been added with the Talent label.
3. Creating a new talent from the recruiting module
It’s possible to create a new talent without attaching any application at all. In the recruiting module, select Talents in the left sidebar and click + Talent in the upper right corner.
Here, you’ll see all the same fields for creating a talent. Click Create and notice that your talent appears both in the recruiting module and the contacts module.
Managing talents
The talent details page is different from a typical contact page because it includes additional sections for Applications, Skills, Reviews, and Surveys, in addition to contact page sections Attachments, Related issues and Activity. In combination, all of these sections allow you to track everything you need related to talents within the recruiting module.
Let’s take a look at each of these sections:
Applications
Here are listed all of the applications submitted for a talent. Here, you can see the application number, vacancy name, company, state and comments. You can also add a new application using the + button.
Skills
Skills can be used for filtering, sorting and searching through talents, in addition to providing a quick overview of the talent’s skills when browsing their contact page.
You can add skills by clicking the + button. If you’ve already created skills, you can search for them or select from the dropdown menu. To create a new skill, click +. Provide a title and optional description and color for the skill and select the category from the dropdown menu. Then, click Create.
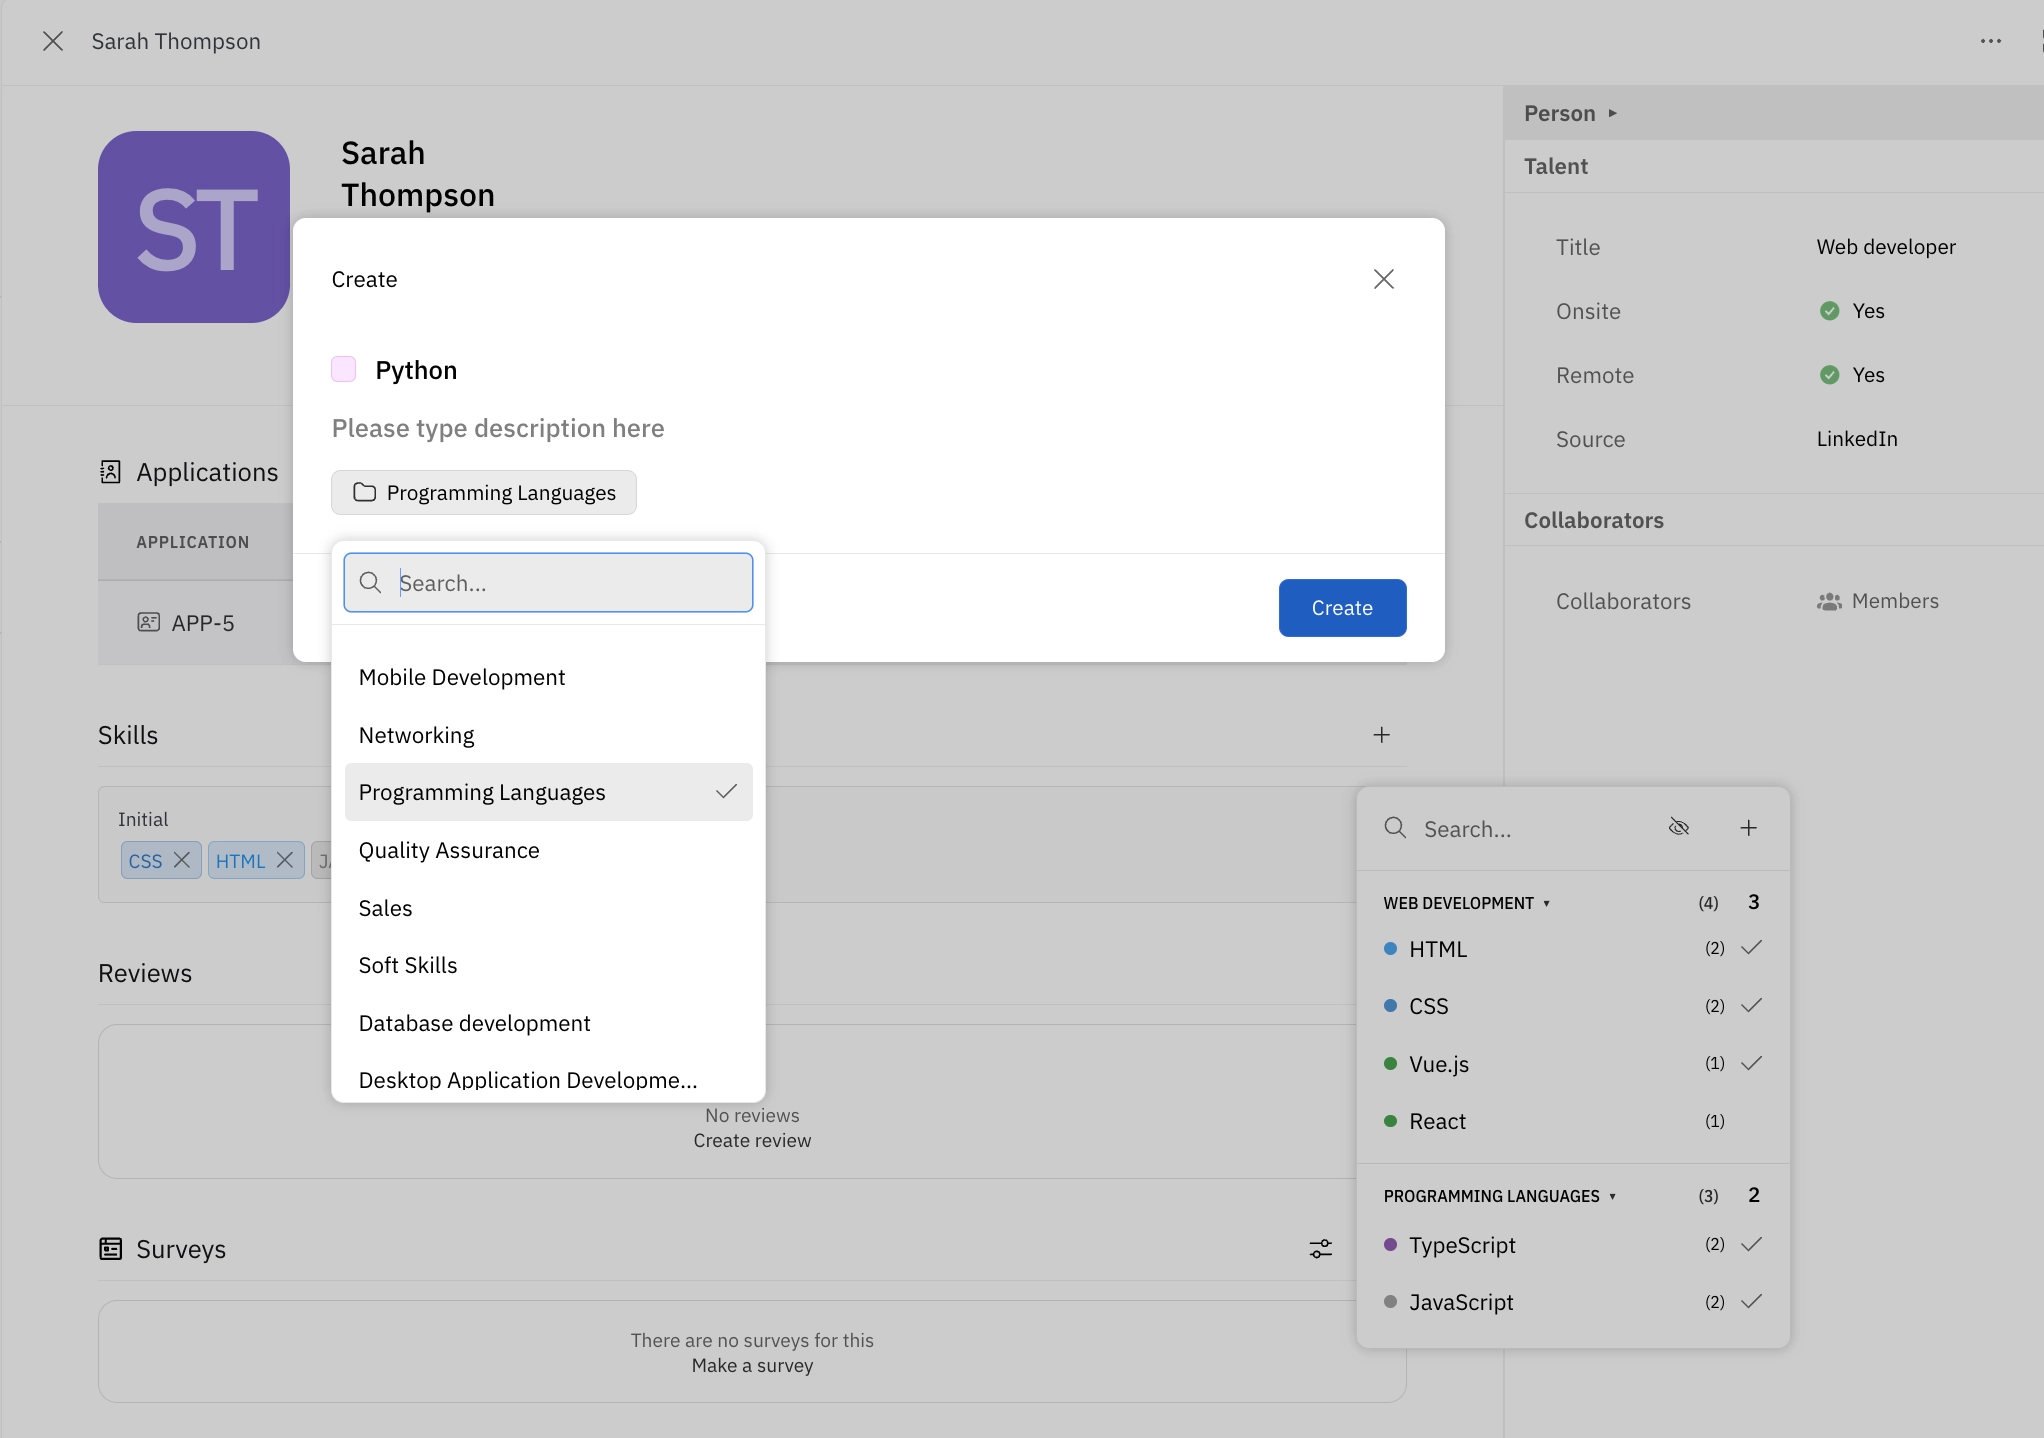
Skills can be managed by selecting Skills in the left sidebar. Here, you can filter, edit and delete skills.
Reviews
Reviews are used to schedule review of a candidate’s application. To create a review, click + and enter a title and optional location and description for the review. You can also enter the company, application and participants, and select a date for review. Then, click Create.
After creating a review, you can find additional fields to add notes to the review. Most importantly, you can enter a Verdict on the review to indicate an overall impression.
Surveys
Surveys are still in development. Check back soon for more information!
Managing applications
Applications can be managed in a similar way to tracking tasks. Select list or kanban views, filter by status, and sort by any column.

Each application also has several useful sections on its details page. You can find sections for All talent reviews, Attachments, Surveys, Related issues and Activity, which can all be used to add information and connect to other parts of the workspace.
Customizing properties for vacancies, applications and talents
You can add any additional properties you need to your vacancies, applications and talents. For example, you may wish to include a salary range or target start date for a vacancy, or a preferred contact method for a talent.
To add your own custom properties, navigate to your workspace settings and select Classes from the left sidebar. Then, select the class that you’d like to customize.
From here you can add any properties you’d like. For more on how to add properties to classes, see Classes and enums.