Setting up your workspace
Creating your first workspace
When you first sign up for an account on Huly or TraceX, you will be prompted to create a workspace.
Your workspace represents the virtual office space where your team will be working. Fully customizable to your team’s unique needs, your workspace serves as a central hub for communication, project planning, task tracking and collaboration.
Give your workspace a great name and click Create.
Inviting team members to your workspace
Once your workspace has been created, you can invite team members to join.
Select your profile icon on the bottom left of the sidebar. Then, select Invite to workspace. Select Get invite link to reveal the invite link. From there, you can copy the link, which you can share with your team members.
It’s also possible to invite new members to your workspace by adding them directly as employees in the Contacts module. Navigate to Contacts and select Employee in the left side menu. Click the + Employee button and enter a name and email address for the person you want to invite. An email invitation will be sent to the email address you entered.
Only workspace owners and maintainers can invite new members or create employees.
Note: Under the current version of Huly, new members are not automatically added to projects and teamspaces unless you select the
auto jointoggle for those spaces. This helps you maintain control over who has access to the data within your workspace when new members join.
Configuring invite settings
Workspace invite links come with some default settings. To configure these settings, open the settings panel by clicking on the horizontal marks at the top left of the sidebar. Select Invite settings in the settings panel. Here, you can configure settings for your workspace invitations, including the duration the link will be valid for, email mask and limit.
The email mask can be used by the workspace owner to restrict access to your workspace by only allowing users with specific email domains to join. For example, if you only want users with email addresses from your company domain to join your workspace, you can set the email mask to @yourcompany.com.
Workspace settings
To configure workspace settings, open the settings panel by clicking on the horizontal marks at the top left of the sidebar. The following are some basic settings that can be configured:
- General: Add a custom logo for your workspace, or change the workspace name. Here, you can also disable RBAC for the entire workspace (useful for testing purposes), or delete your workspace entirely.
- Backup: Download a backup on your workspace data.
- Owners: Set roles for all team members as User, Maintainer or Owner. To learn more about roles, see this guide.
- Configure: Enable or disable modules in your workspace. For more on modules, see the section below.
- Invite settings: Configure settings for workspace invitations.
- Export: Export data from your workspace to JSON or CSV.
Configuring modules
A module is a set of features that are combined to provide a specific functionality in your workspace. For example, Tracker, Documents and Cards are all modules. Huly and TraceX come with several modules enabled by default, but you can customize your workspace by enabling or disabling modules based on your team’s needs.
To configure which modules are enabled in your workspace, navigate to Settings and select “Configure” in the left side menu. Here, you can see all available modules and click Enable or Disable to toggle them on or off.
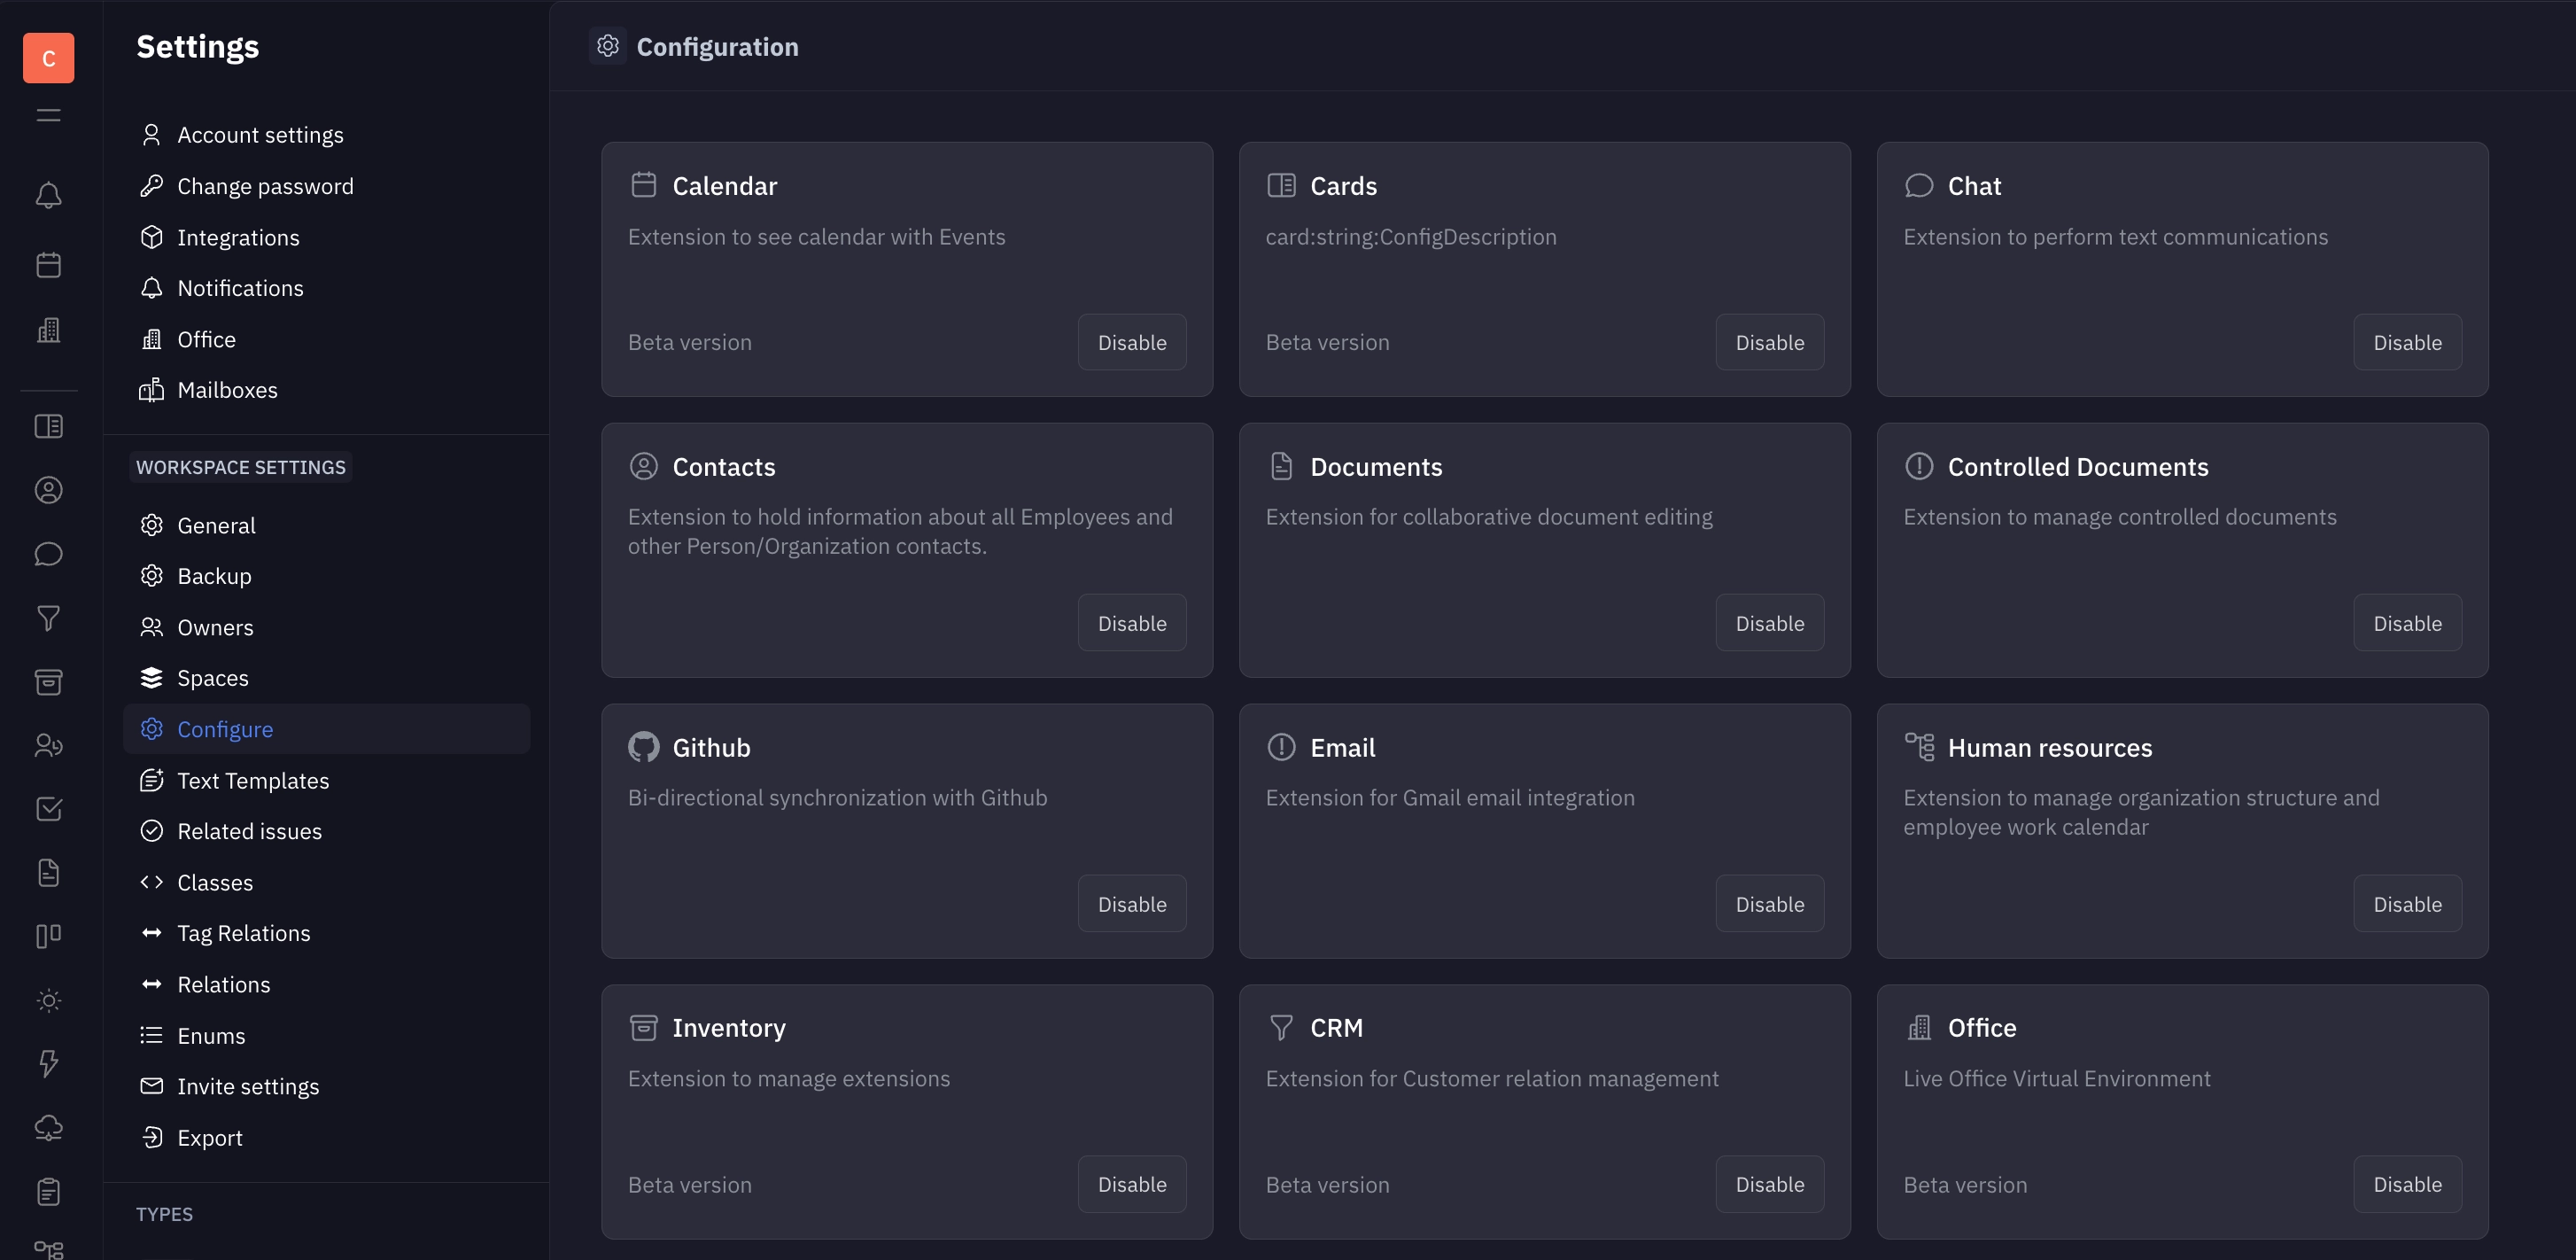
If you’ve created data in an enabled module, disabling it will not delete the data, but it will hide the module from the sidebar. You can re-enable the module at any time to access your data again.
Some modules are labeled as “Beta version”. This means that there are still some features that are being developed and tested, and may not be fully stable. Some modules — such as Inventory and Leads — are not actively being developed, and may not be prioritized for feature requests or bug fixes.
Video tutorials: How to get started with Huly and TraceX
The documentation here in Huly Docs will walk you through everything you need to know about setting up your workspace in Huly or TraceX. However, if video tutorials are more your style, checkout our getting started guides on YouTube: