Additional document settings
Settings within documents
There are several settings available for controlled documents, found in the navigational tabs at the top of the document as well as in the right side panel. These settings are the same for all types of controlled documents, including templates, quality documents and technical documentation.
-
Reason & Impact: Under the
Reason & Impacttab, you can provide information on changes. This section is used to explain why the document was created or changed, and what impact it will have. TheDescriptionandReasonfields will be automatically populated in theHistorysection of the document. -
Team: Under the
Teamtab, you can add or remove team members as Co-Authors, Reviewers, and Approvers. -
Release details: Under the
Releasetab, you can provide information on the release of the document, including the severity of the release (decimal change for minor updates; whole number change for major updates), and the effective date. -
Trainings: Also under the
Releasetab is the option to add a training. -
History: Under the
Historytab, you can view a log of changes made to the document, including the date and description of each change.
Creating subfolders
Documents are organized into spaces by default, but you can further organize documents into subfolders within each space. To create a subfolder, hover over the space in the left side menu and click the ... icon, then select Create new folder. Enter a name for your folder and click Create.
To move a document into a folder, simply drag and drop it onto the folder.
Folders can also contain their own subfolders, allowing you to create your own hierarchy of documents.
Relocating and reordering documents and folders
Controlled documents and folders can be relocated and reordered within their current space, or transferred to a different space with some additional configurations.
To move a controlled document within the same space, simply drag and drop them in the left side panel. To nest a document within another, drag and drop it over the new parent document.
To transfer a document to a different space, click on the settings menu next to the document in the left side panel and select Transfer.
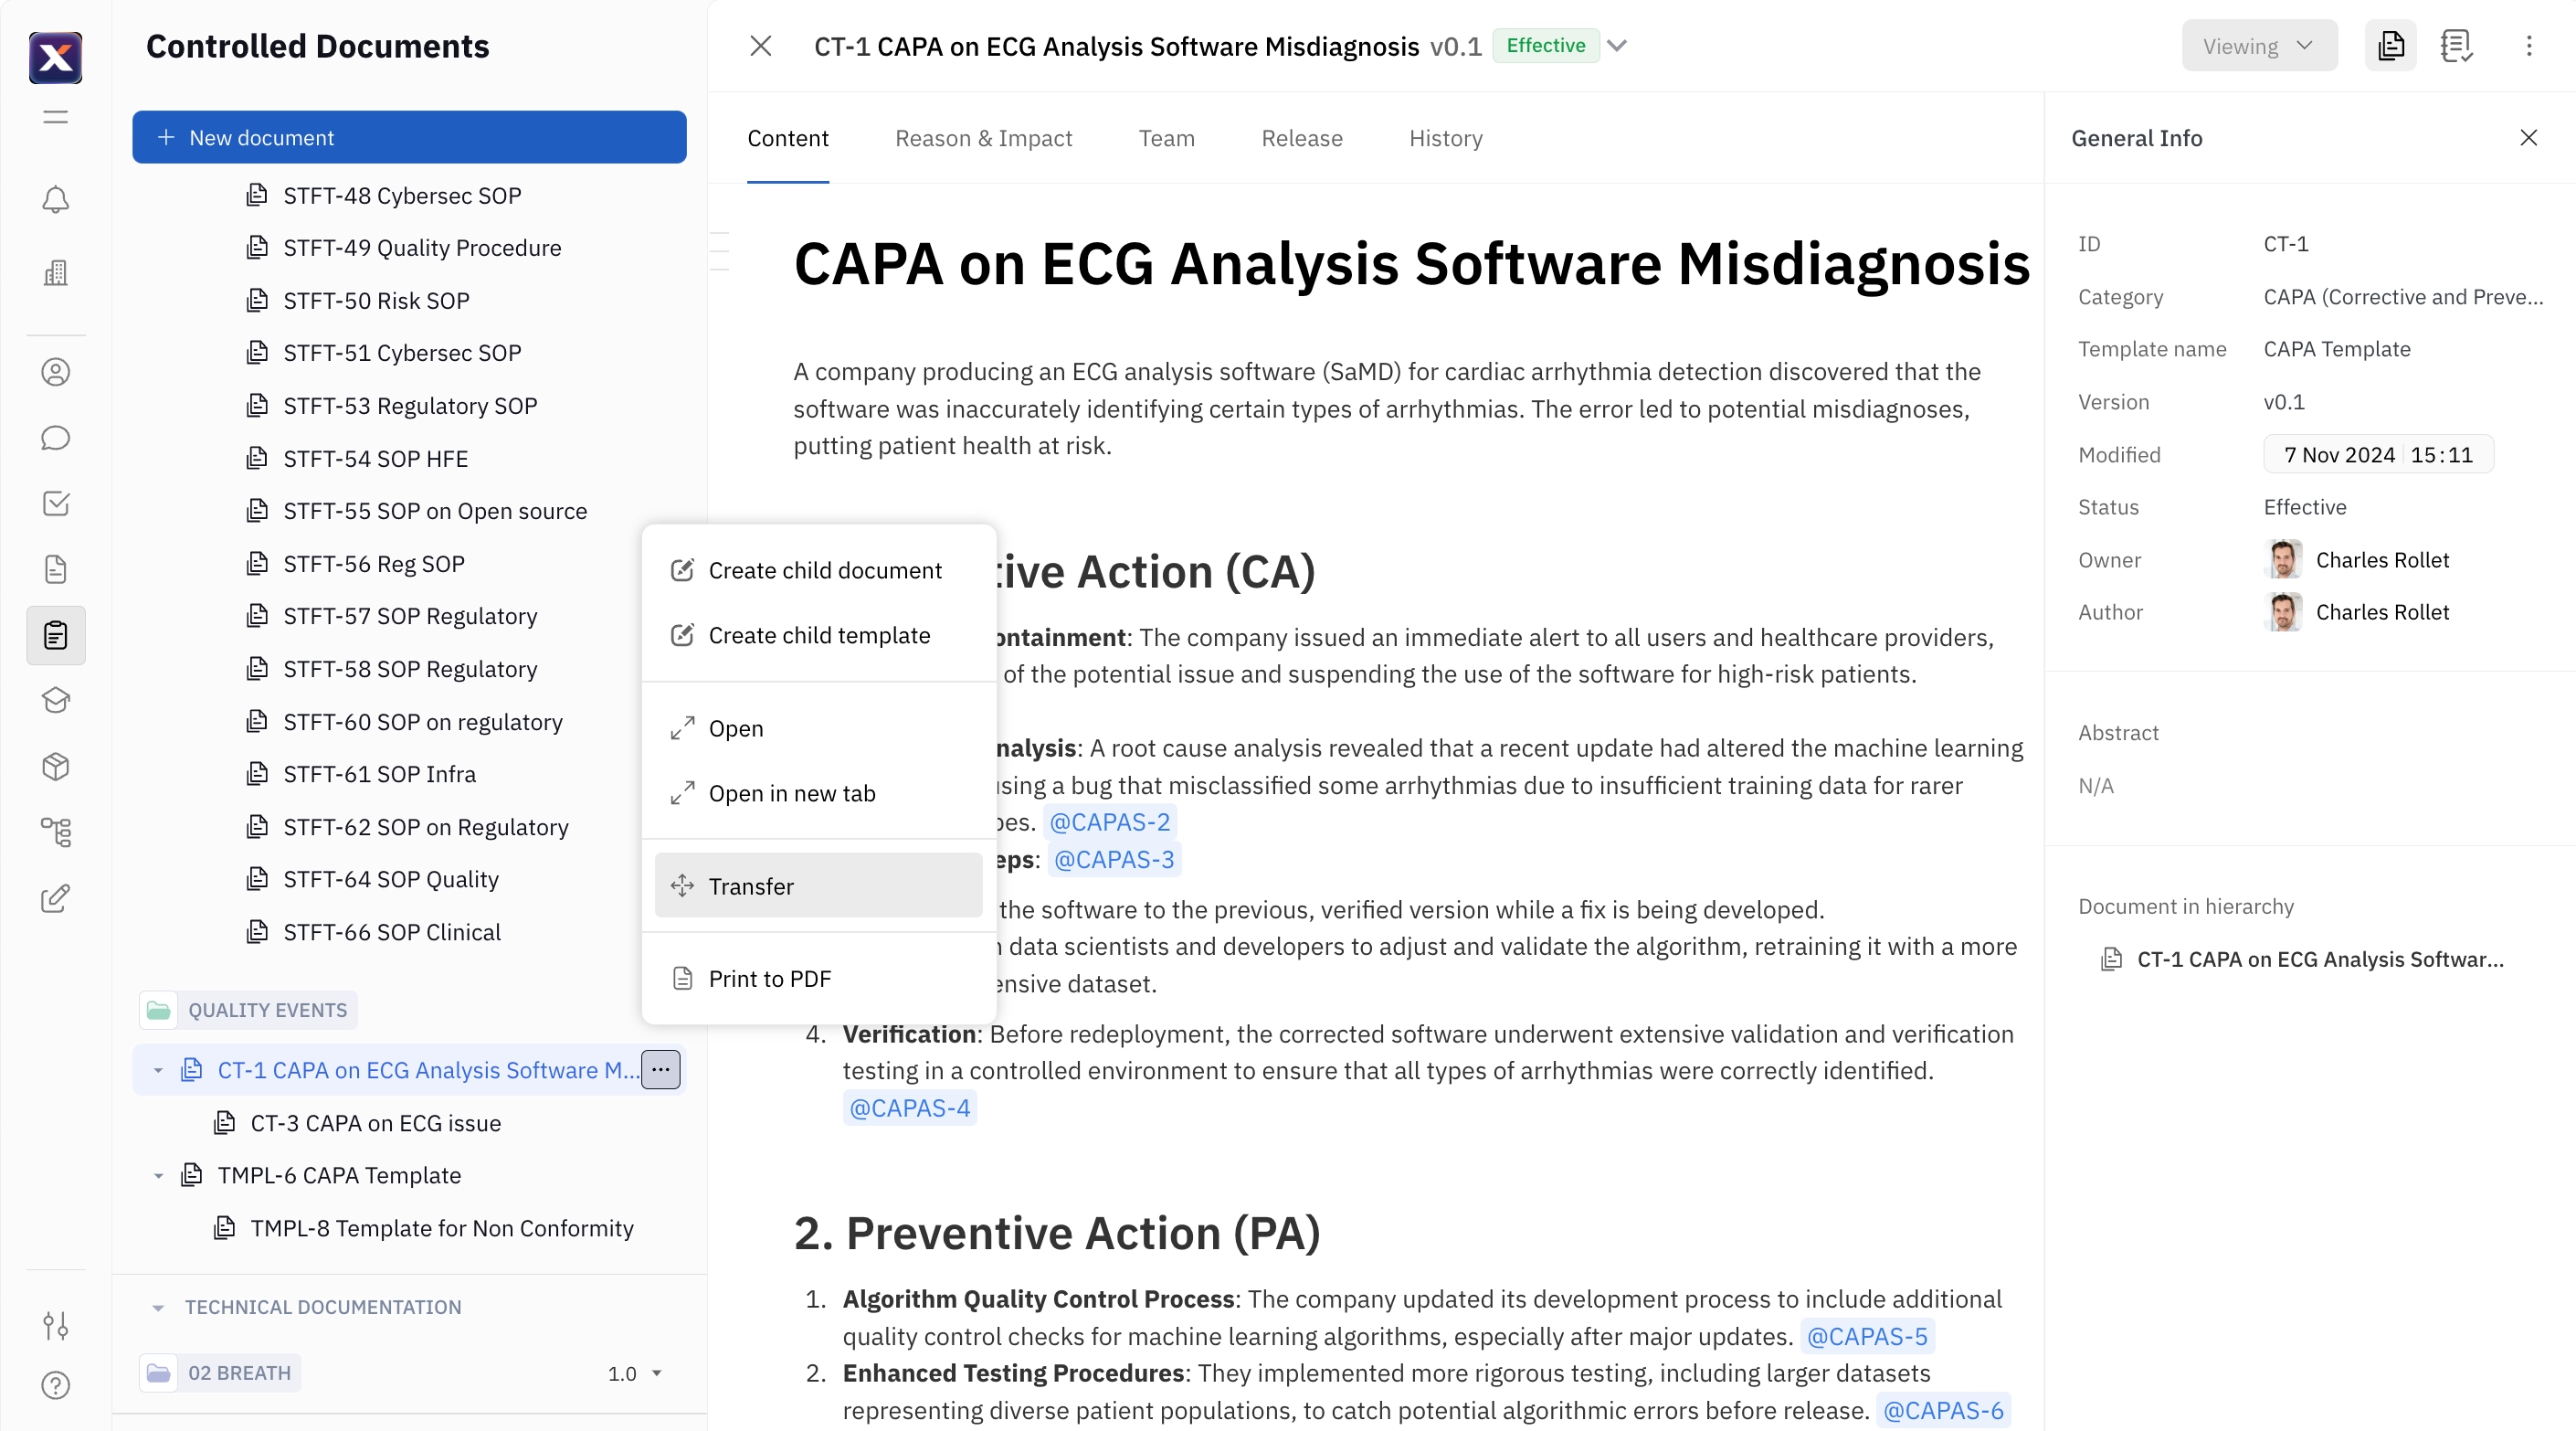
Next, select a space to transfer to, as well as the parent object for your document (if applicable). Click Transfer again to transfer the document.
Note: Some team members may lose the ability to view or edit the document after transferring it, depending on the permissions settings for the destination space. Documents can only be moved if they’re created in the current product version. Additionally, the user making the transfer must have archive rights in the source space and document creation rights in the destination space.