Roles and permissions
Roles can be used to manage permissions for different users in your workspace. By default, TraceX includes the following roles:
- Qualified User
- Manager
- QARA
Roles are managed within each space, meaning you can customize roles differently for controlled documents, products & product documents, and trainings. To assign a user to any role, they must first be added as a member of that space.
Assigning roles
How you choose to assign roles to your users will depend on the kind of module you’re working with, and the steps are slightly different for each. Continue reading to see how roles can be assigned for Controlled Documents, Products, and Trainings.
Controlled Documents: Open the settings menu for any document space and select Edit documents space. From here, you can first add members to the space and then assign members to each of the available roles.
Products: Roles can be assigned when creating a product by selecting members from each role dropdown menu.

To assign roles from a product that’s already been created, use the right side panel to add members to each role.
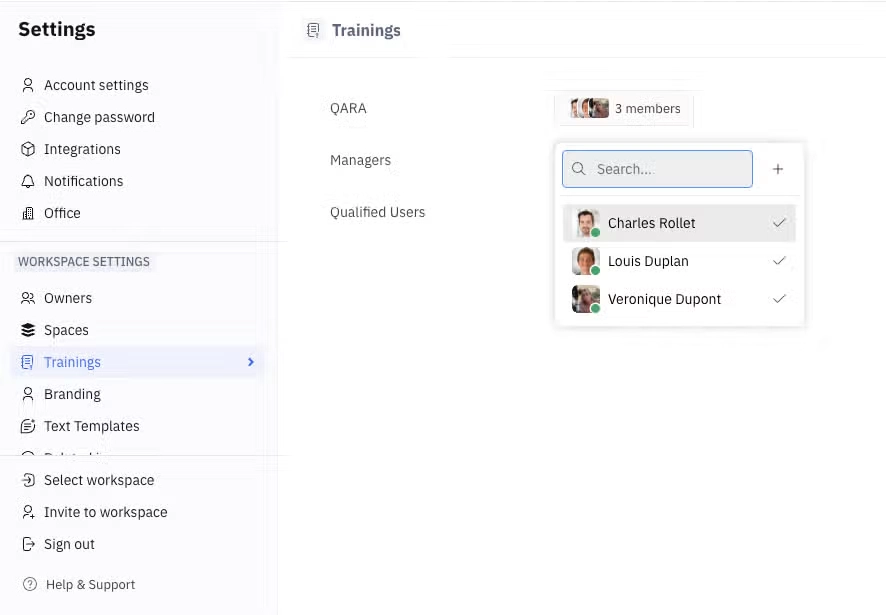
Trainings: Open your workspace settings and select Trainings. From there, you can assign roles to team members using the dropdown menus.
Customizing default permissions
The default roles of Qualified User, Manager, and QARA can be customized for your specific needs. Navigate to your workspace settings and open the space that you want to customize — Default Documents, Default Trainings or Default Products.
From here, you can add or delete roles and edit their names, and add or remove permissions.
Creating new roles & permissions
In some cases, you may want to create your own custom roles rather than using the default roles. To override the default roles for any given space type, you’ll create a new space type based on the default.
Navigate to your workspace settings, find SPACE TYPES in the left side menu, and click the + button. From the dropdown menu in the top left, choose the space type that you’ll be overriding the roles for. Add a name for your new space type; for example, ‘My Configured Roles & Permissions’. Then, click Create.
In the example below, custom roles have been created for Engineers, Testers and Product Managers:
From here, you can add roles using the + button, and customize permissions for each role.
When you create new spaces for controlled documents, products & product documents, and trainings, you can select your own new space type to apply your custom roles and permissions.
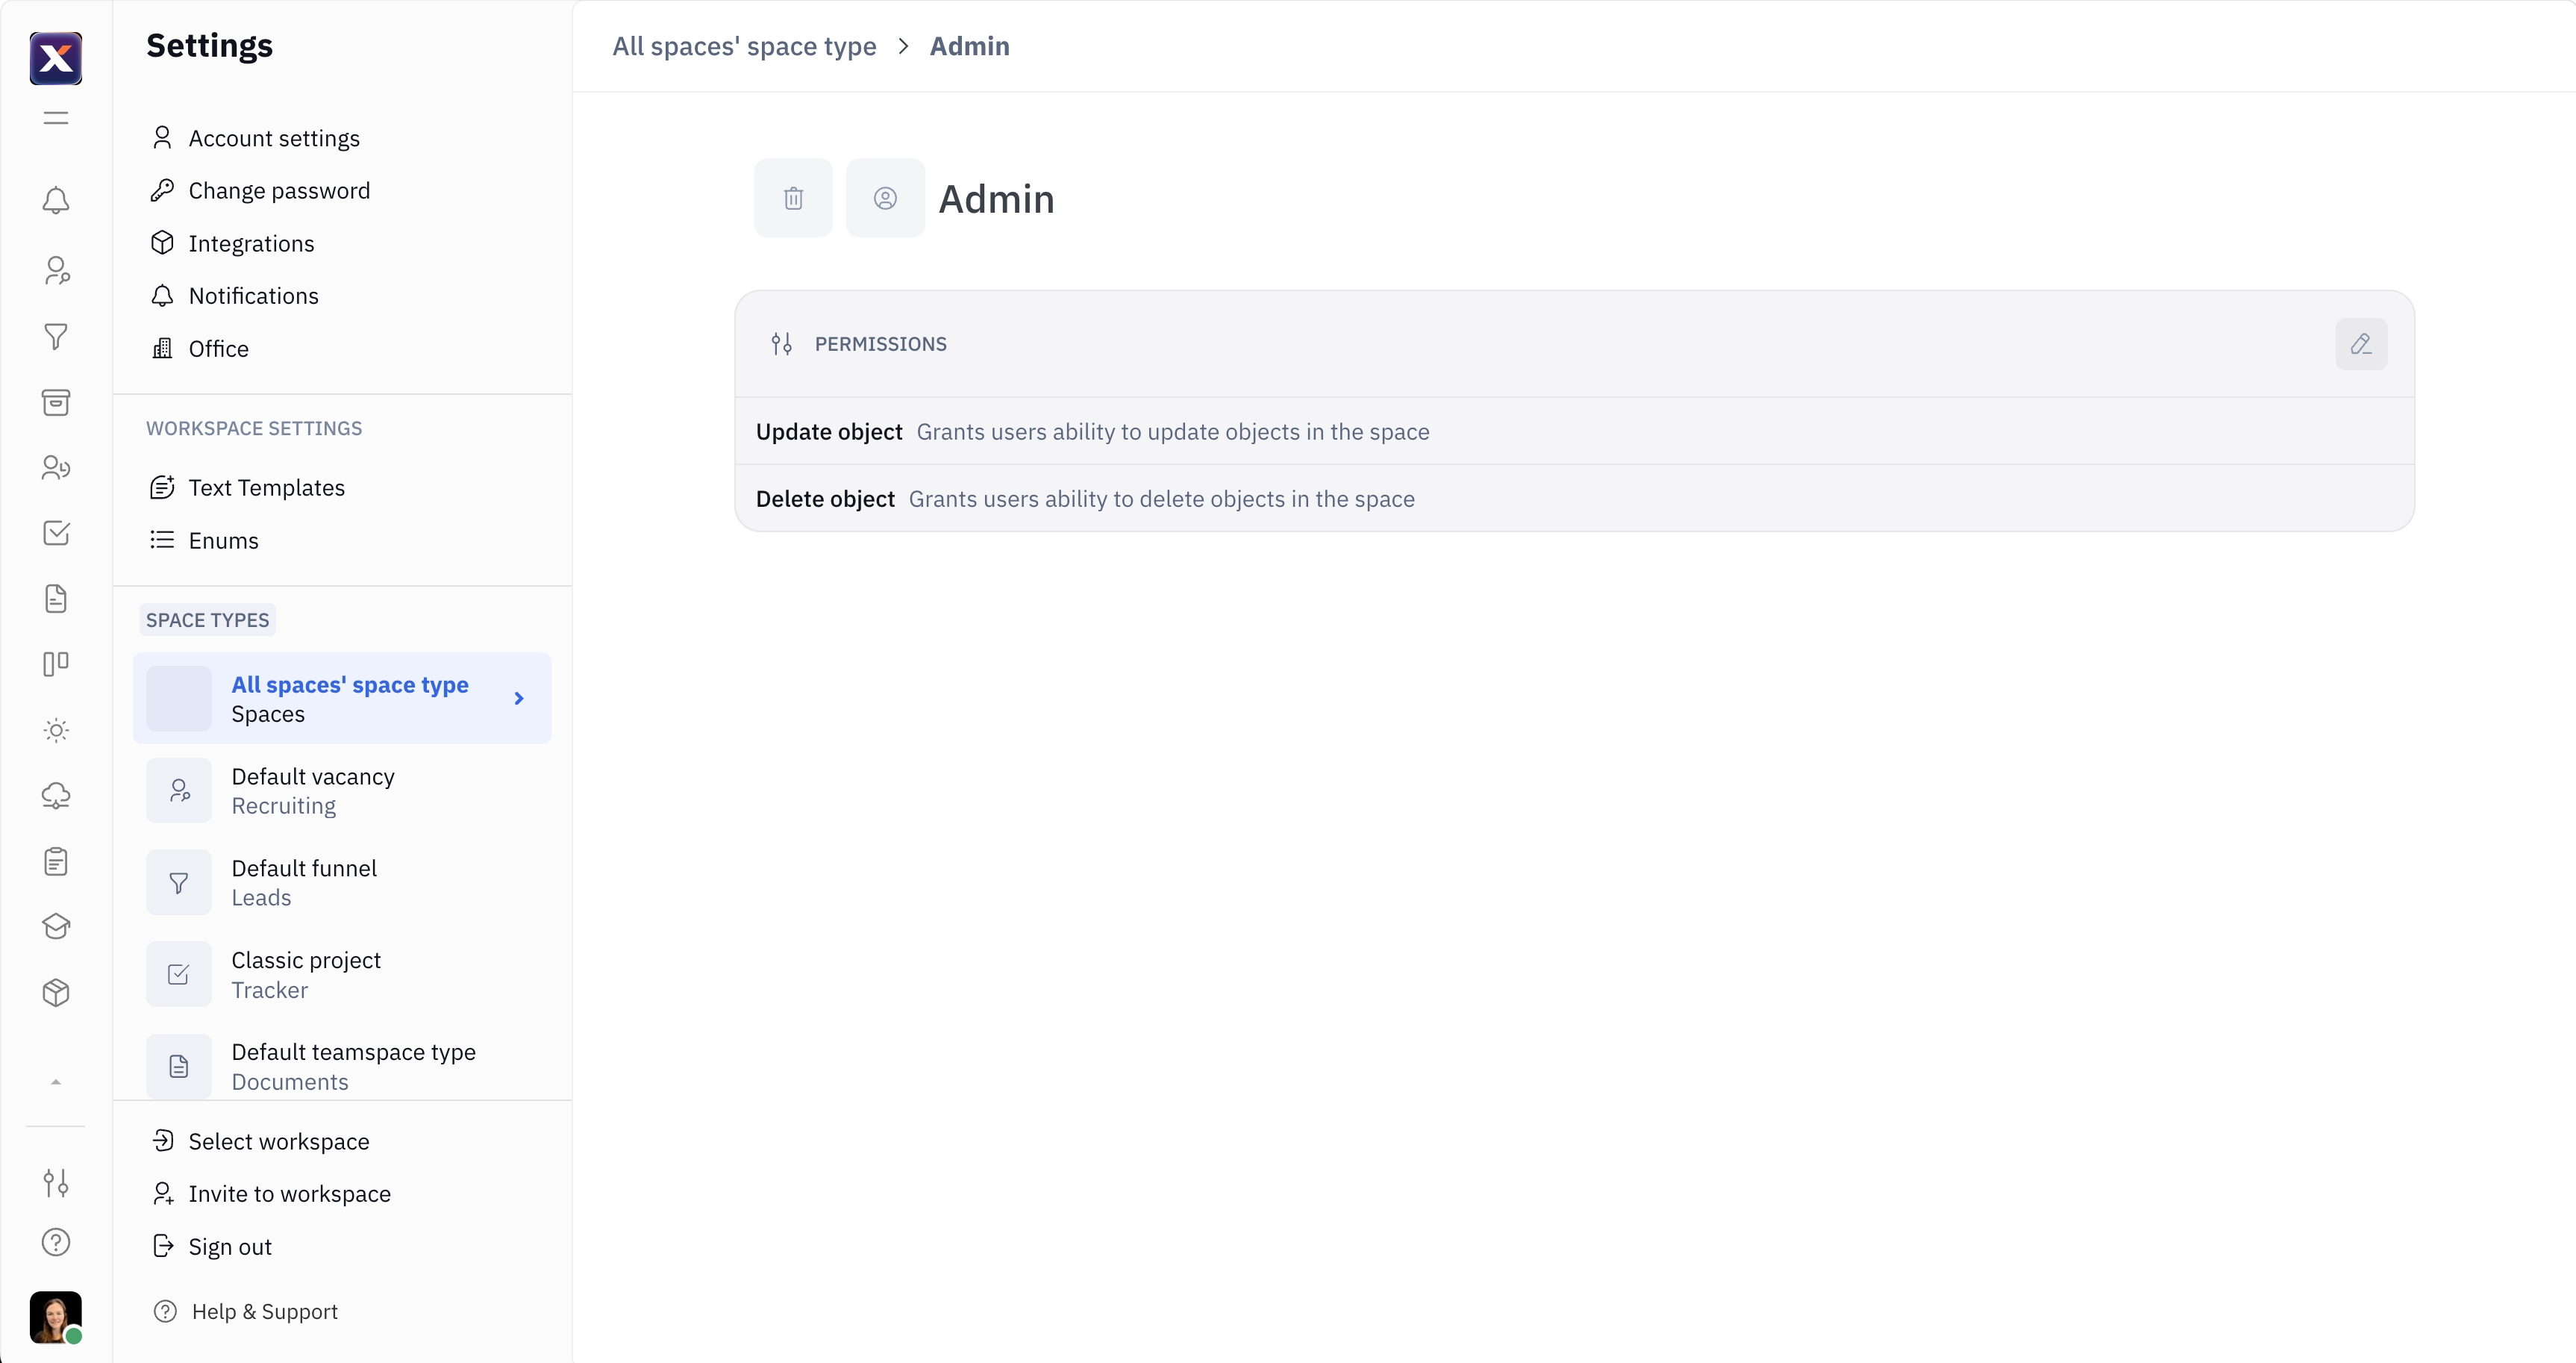
Admin settings
Admins are users who have global permissions across all spaces. To add or remove members from the Admin role, navigate to Spaces in your workspace settings and use the dropdown menu.
To customize the permissions for the Admin role, find SPACE TYPES in the left sidebar of your settings and select All spaces' space type. From here, you can edit the permissions for Admins to update or delete top-level spaces in your workspace, such as projects and teamspaces.
Note: Admin permissions for updating and deleting applies to top-level spaces, not the specific objects within them. For more on the hierarchy of spaces and objects, see our guide on space types.