Templates
Templates are reusable document structures that can be used to create new documents quickly and consistently. In TraceX, you can create templates for controlled documents to ensure that your team follows the same format for each document type.
Creating a template
Templates can be created either by opening the dropdown menu beside the New document button and selecting New template, or by clicking the + Template button in the Templates section of the controlled documents module.
Alternatively, a template can be created in a specific document space by opening the settings menu and selecting Create new template. It’s also possible to create templates as children of existing documents; to do this, open the settings menu for any document and select Create child template.
In the template creation dialog, you’ll be guided through the following steps to create your template:
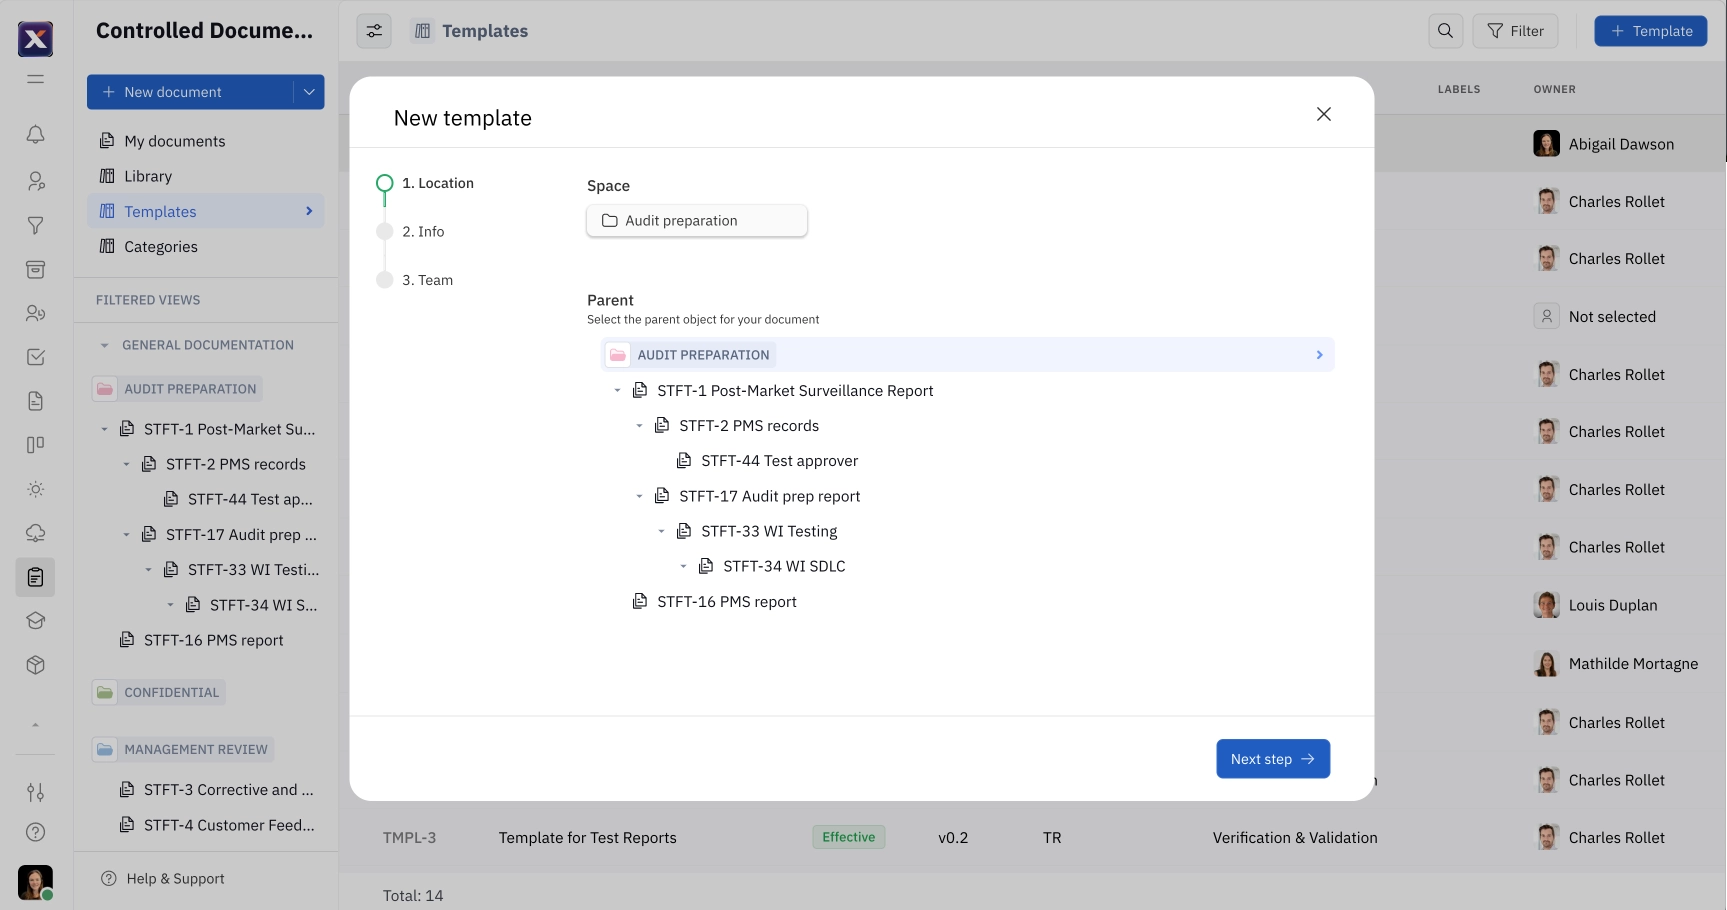
Step 1: Select a space and parent for your template. The space defines the roles and permissions that will apply; the parent simply determines where the template will be stored. A template can be the direct child of the space itself (at the top level of the space), or it can be a child of a document within that space.
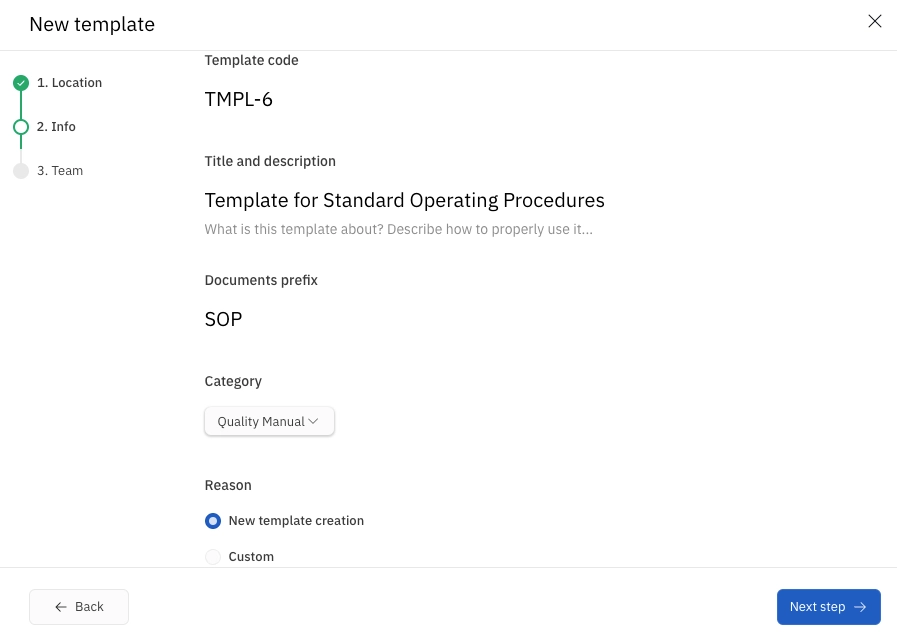
Step 2: Provide details for your template, including a title, description and prefix, a category, and reason. Customizing the template code is also possible, but it’s recommended to use the default settings to maintain consistent incremental numbering of templates.

Step 3: Select team members that will be working on documents using this template, including Co-Authors, Reviewers and Approvers.

After proceeding through the above steps, click Create Draft.
Adding notes
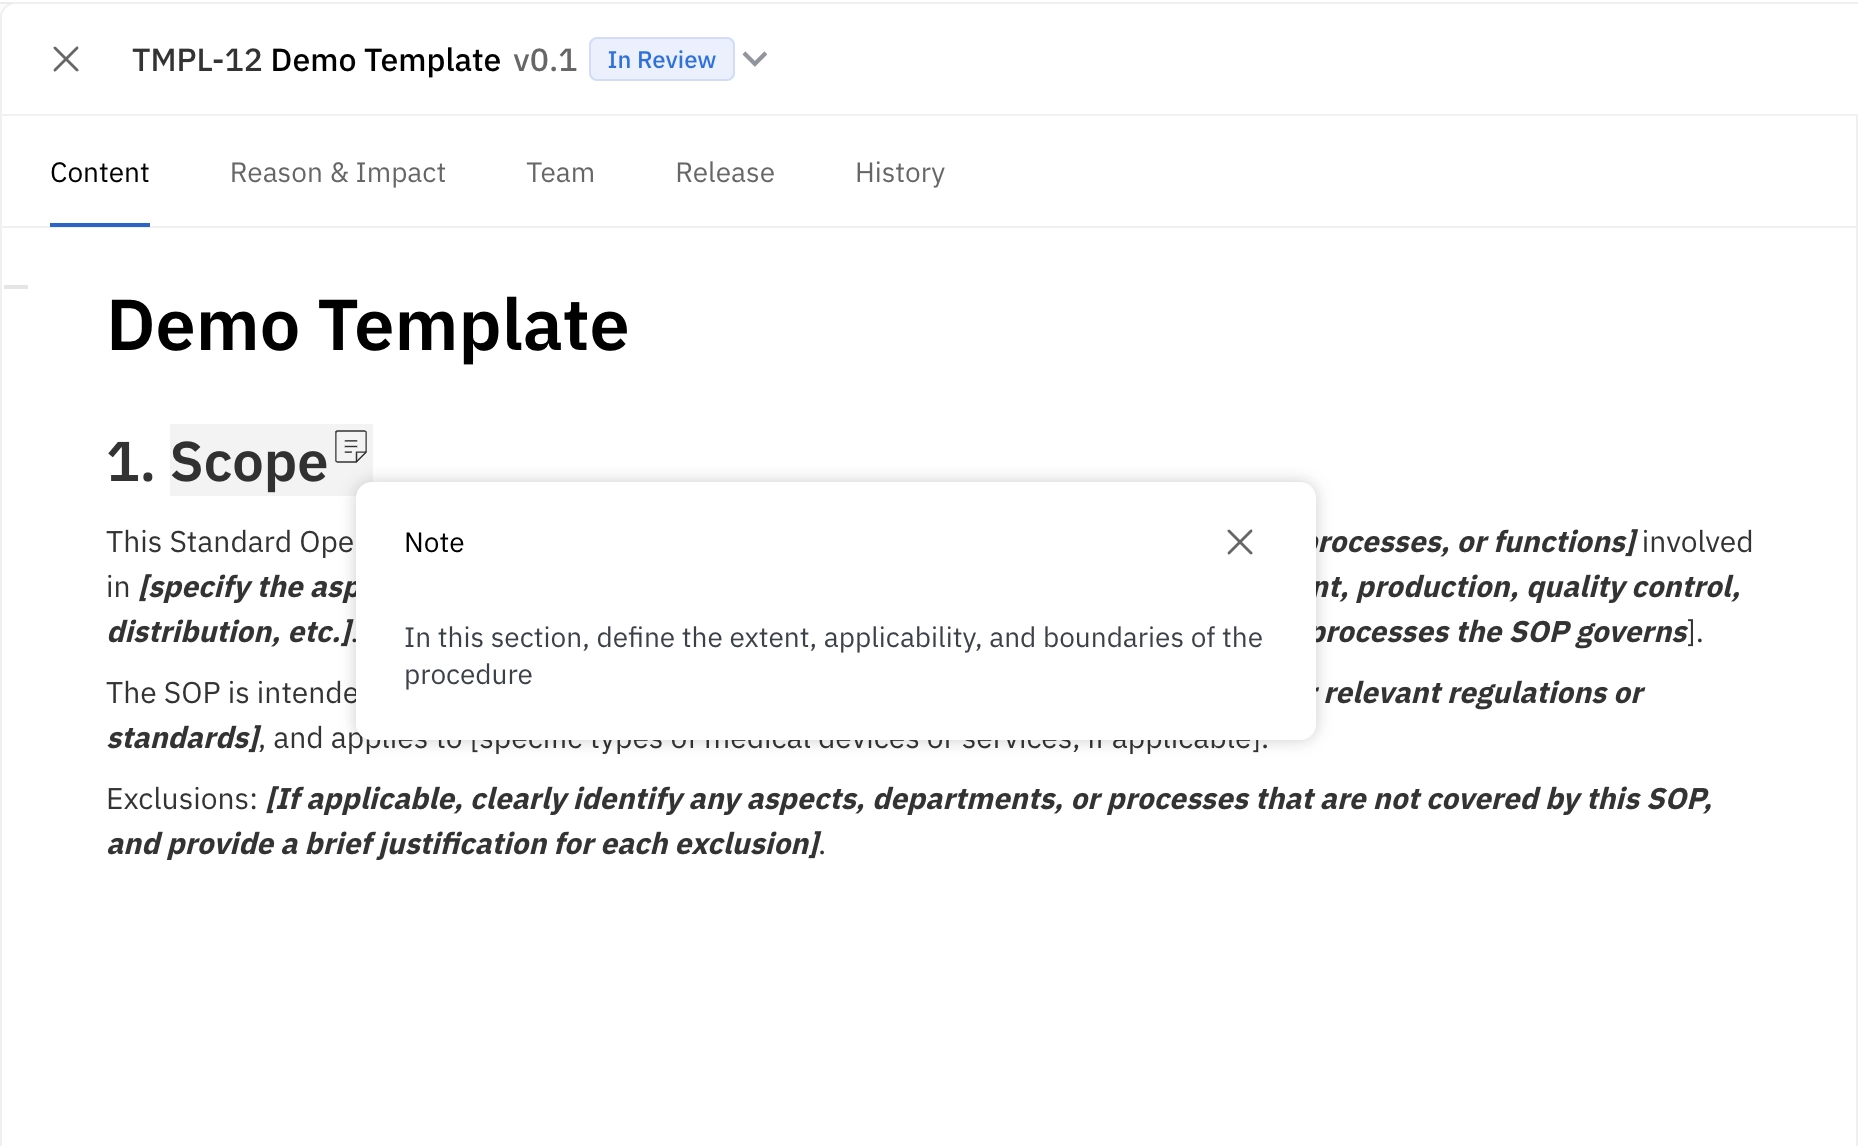
With the text editor, you can select the note symbol to add guidance that will help users understand what information to include in a defined section.
Document categories
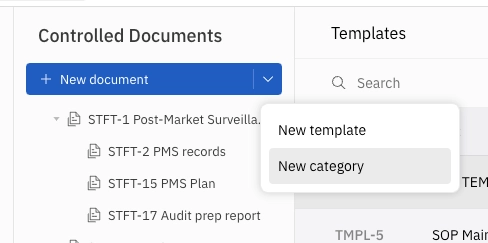
To create a new document category, select the dropdown menu next to the + New document button and click New category.
Categories can be used to group related documents together. Categories are fully configurable and can represent departments in your company or key topics. In this example, the category Quality Manual is being used when creating a new template: