Documents
There are many uses for documents on the Huly platform, including sharing reference materials among team members, collaborating on plans and roadmaps, saving meeting notes and assigning action items. This guide will walk you through the basics of creating and formatting documents, as well as some of the options available for managing your documents. For more advanced document features, see the following guides:
Note: In many cases, you may find that using Cards is a better fit for your needs than using Documents. Cards are designed to be more structured and flexible, allowing you to create custom attributes, relations and tags. If you’re not sure which system is right for you, check out our guide on Cards vs. Documents.
Creating a teamspace
Documents are organized into teamspaces, which can be used to model your team’s specific needs. For example, you may choose to organize your documents into teamspaces called “Features”, “Marketing”, “Style Guides” etc.
To create a teamspace, click the + that appears when hovering over the word “Teamspaces” in the sidebar, or by clicking the dropdown arrow next to the + Create a document button and selecting Create teamspace.
From here, you can enter the following details:
- Space type - Currently defaults to settings optimal for the Huly platform
- Teamspace title - A title for your teamspace
- Description - A description of your teamspace
- Icon - Choose an icon to represent your teamspace, either from a default icon with a custom color, or an emoji
- Owner - Select the owner of the teamspace
- Make private - Toggles whether the teamspace is visible to people outside of the selected members
- Members - Select which members are a part of this teamspace
- Auto join - Toggles whether new workspace members will be automatically added as members of this teamspace
Click Create.
Creating a document
There are two ways to create a document:
- Click the
+ Create a documentbutton at the top of the documents sidebar. This opens a dialog with the option to select a teamspace for your document; the default parent will be the most recently selected teamspace or document. Enter a title for your document and clickCreate. - Hover over a teamspace name or any other document and click the
+button that appears. The new document will automatically be nested within the teamspace or document you selected.
Formatting document content
Documents support markdown formatting. There are a few ways to access formatting options for your text:
- Type markdown syntax directly into your document.
- Use the floating toolbar that appears when text is selected on the page.
Formatting options include headers, text emphasis, links, blockquotes, numbered and bulleted lists, and code blocks.
Images, tables and separator lines are also available by hovering over text and clicking the + icon that appears on the left side.
@mentions
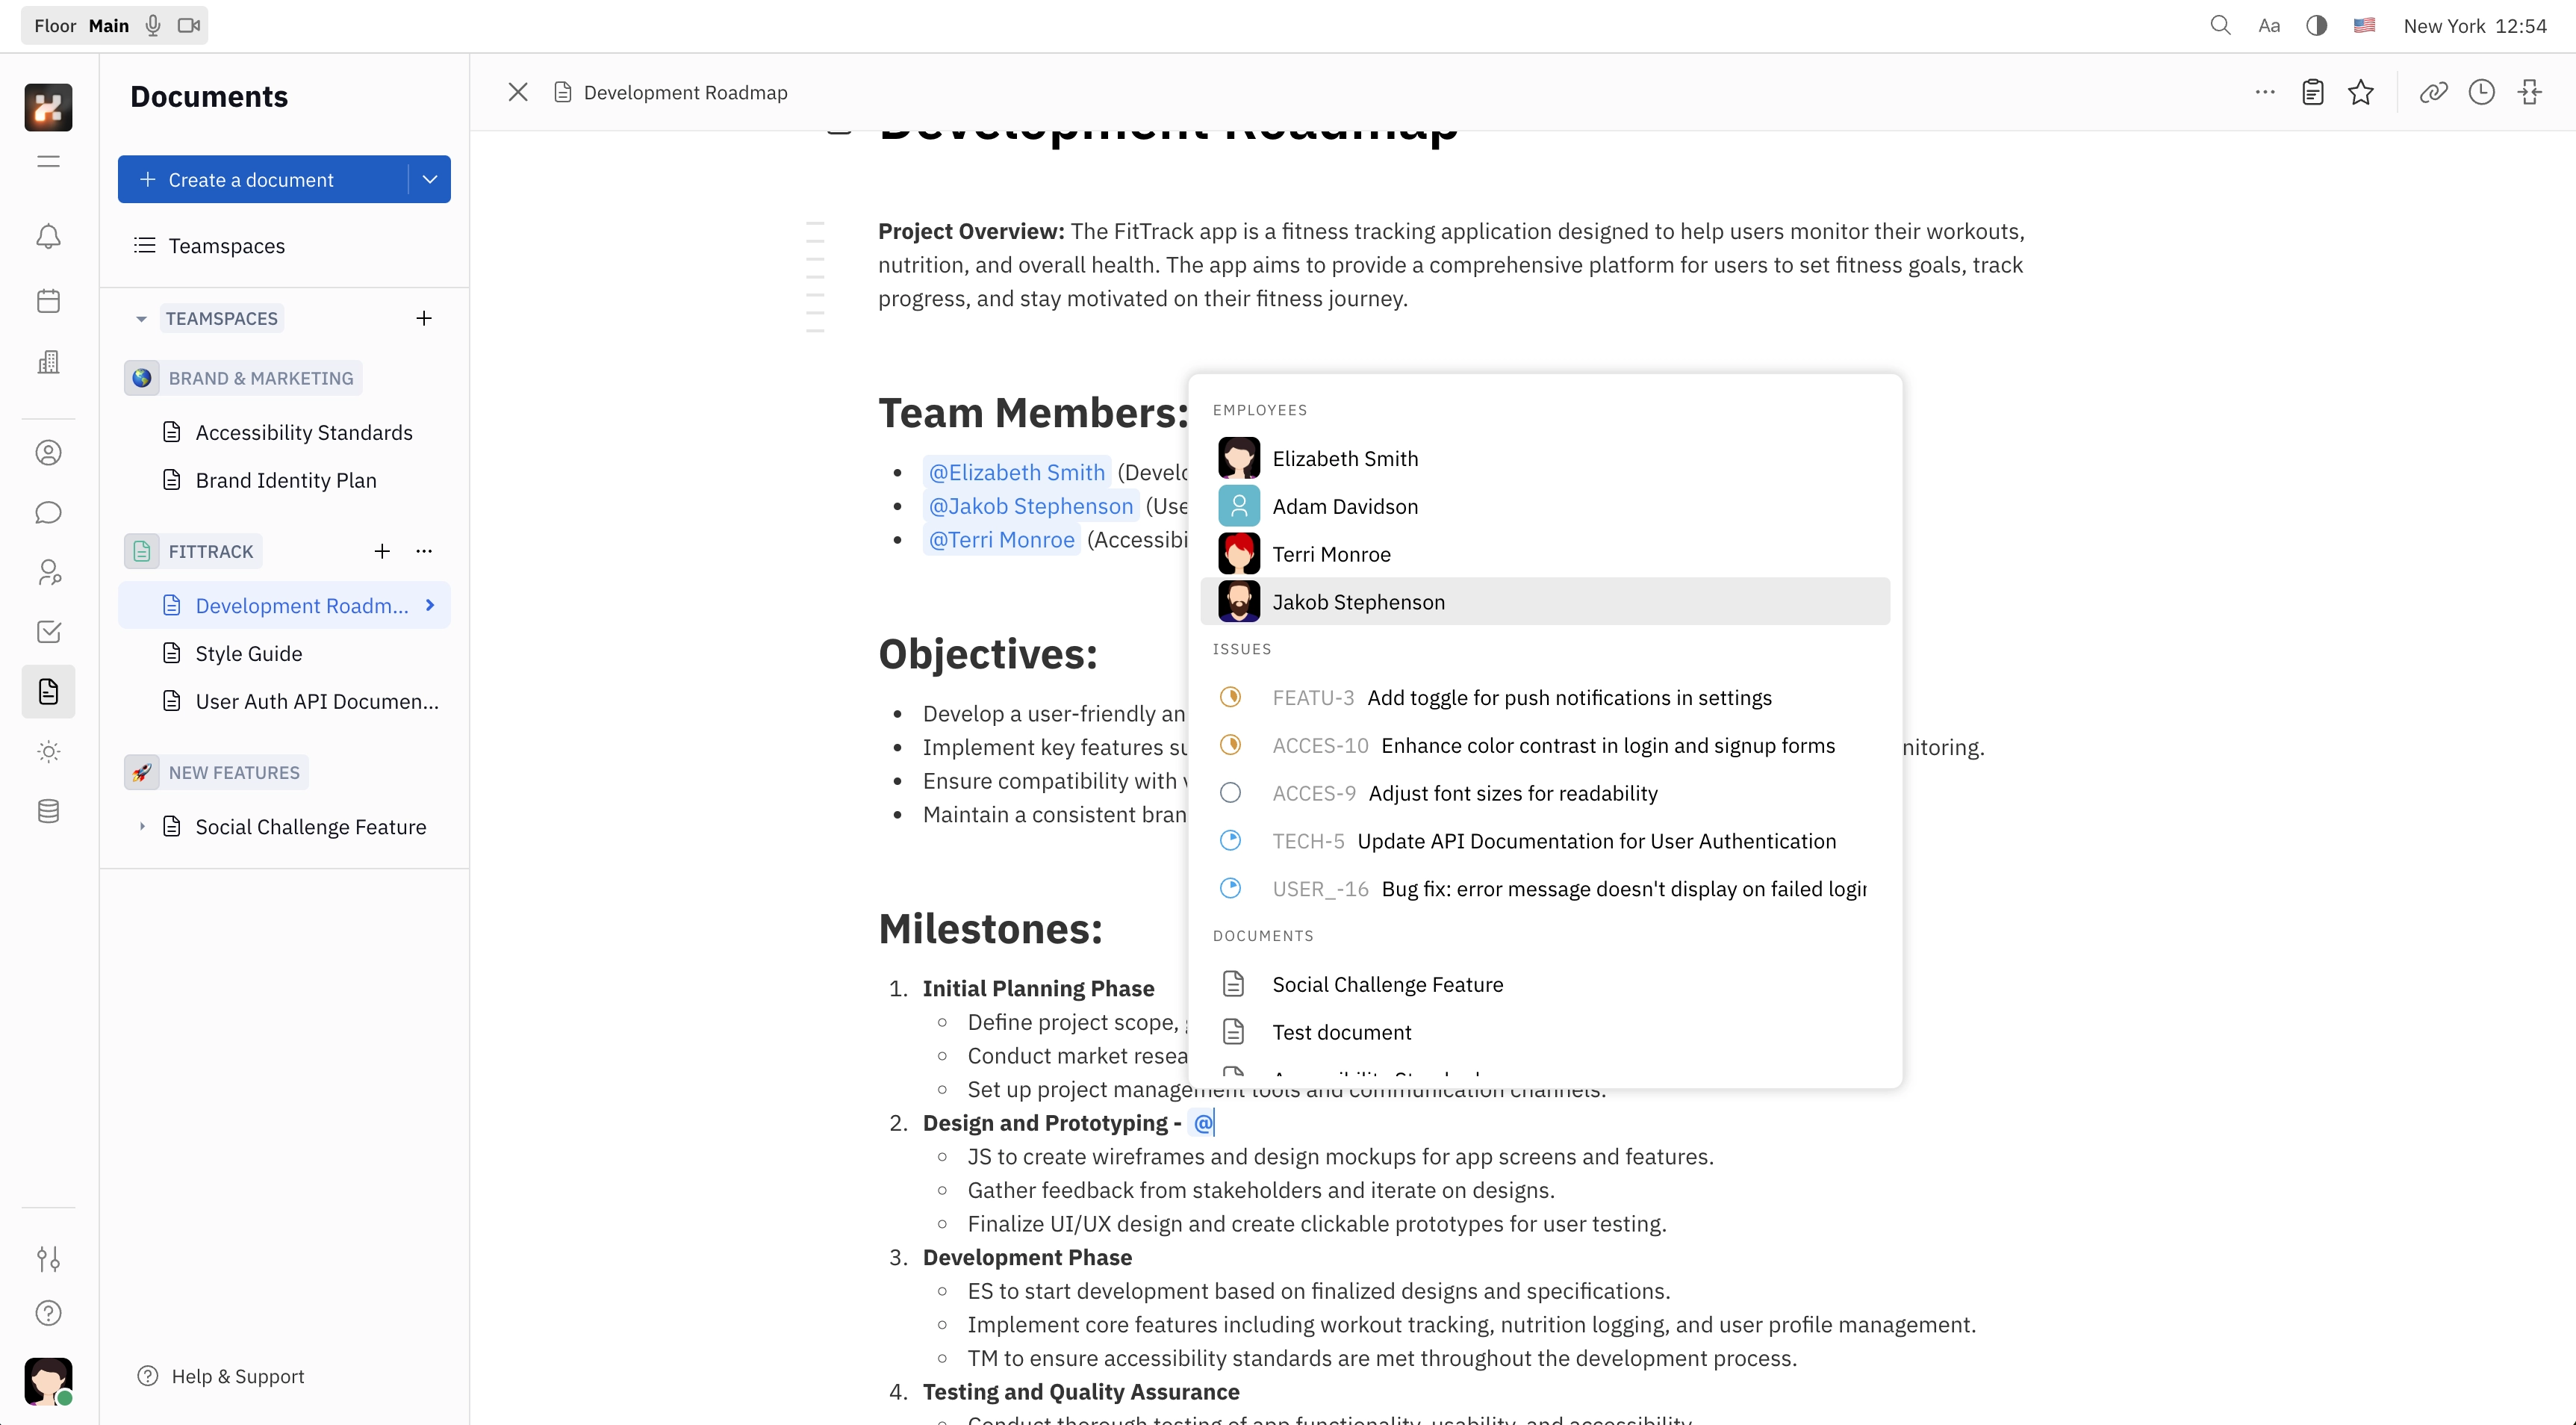
Mention a team member by using @mention syntax. The member will receive a notification that they have been mentioned in the document.
Use @ to tag any issue or document in Huly. Soon, all objects in Huly will be available to tag anywhere, including Drive files, teamspaces and more - keep an eye out for updates on this feature!

Adding notes
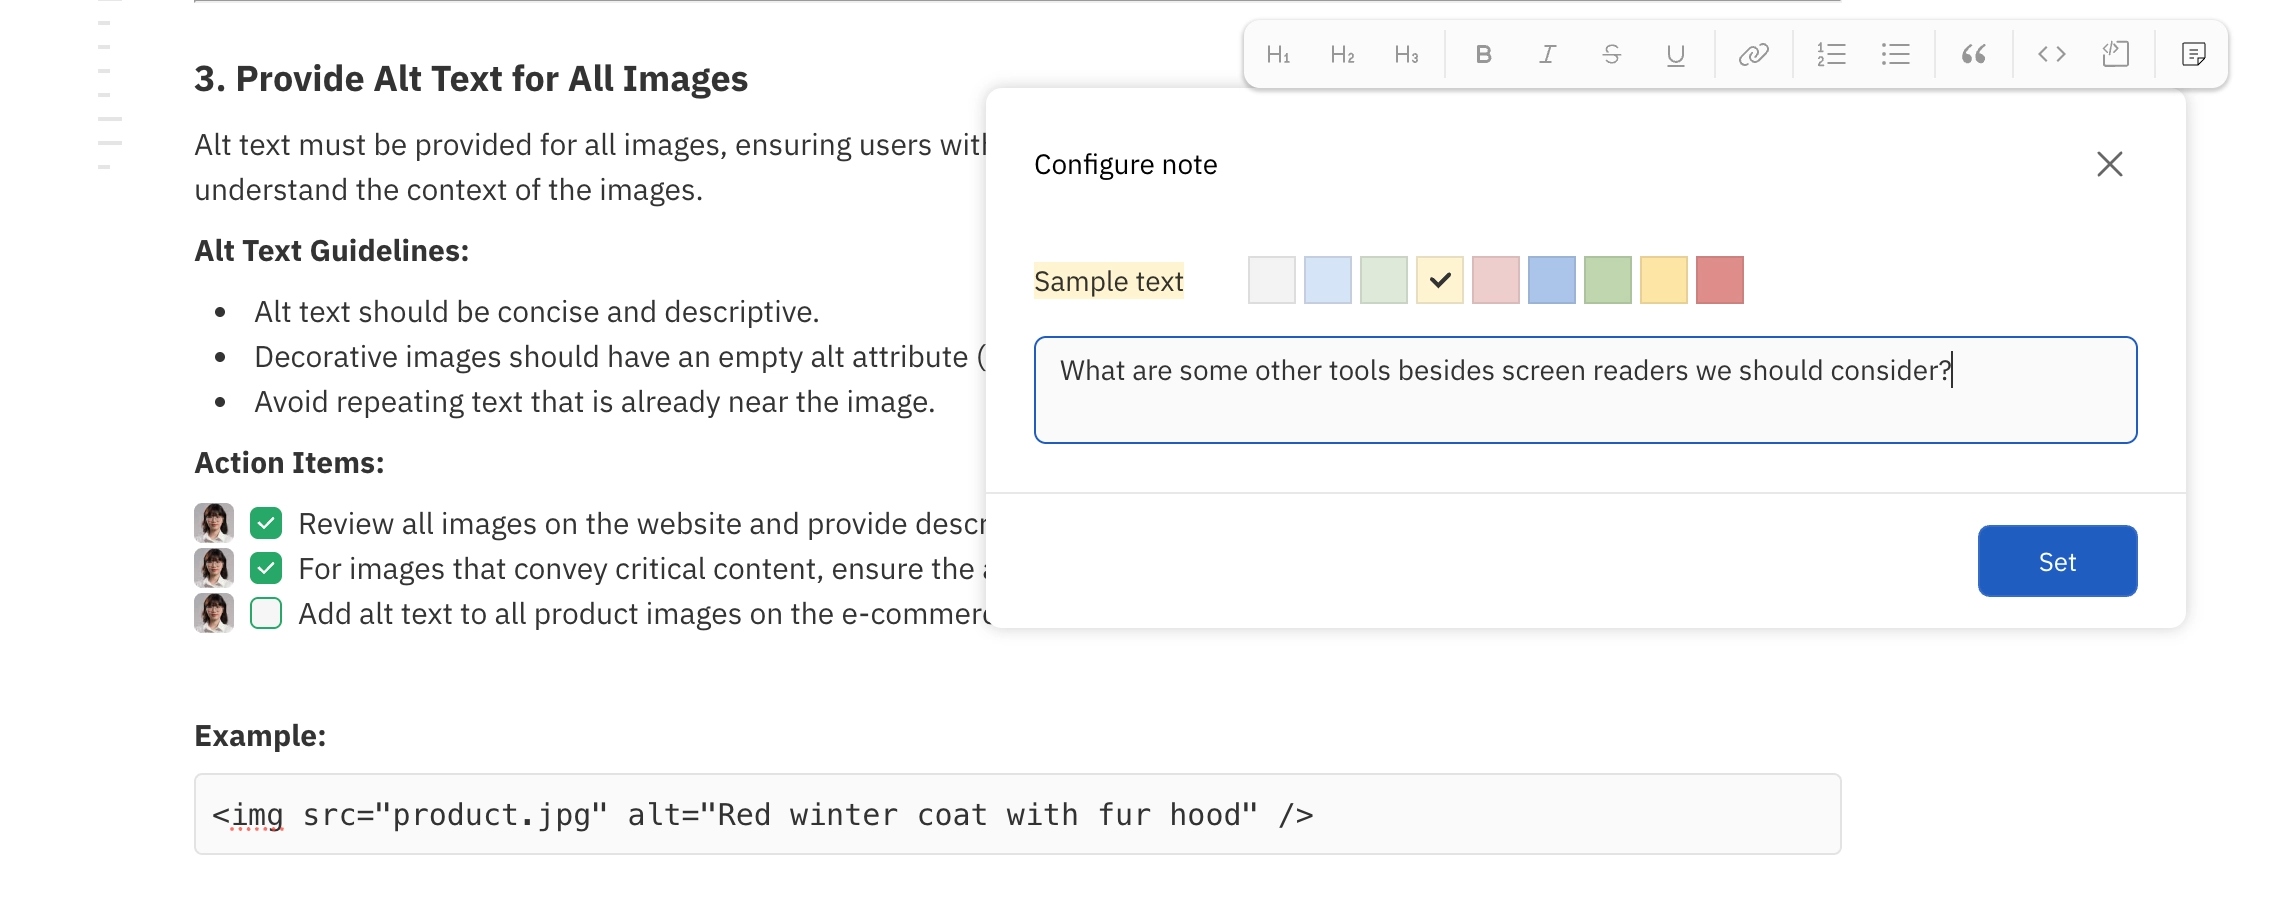
To add a note to a document, highlight the text you would like to add the note for and click the Note icon in the floating toolbar. Enter the content of your note and choose a color, then click Set. Notes will appear as a small icon next to the text you’ve added them to, and can be viewed by anyone with access to the document.

To edit or delete a note, simply highlight the same text and click the note icon to open the dialog. From there, you can update the content and color of the note, or click Remove to delete it.
Adding comments
Inline comments are attached to highlighted text in a document, and can be used to discuss specific parts of the document content with your team. To learn more about inline comments, check out this guide.
Assigning action items
When working on projects together, it may be helpful to assign small action items that aren’t necessarily connected to any particular issue in the Tracker. Check out our guide on assigning action items in documents to learn more about this feature!
Working with tables
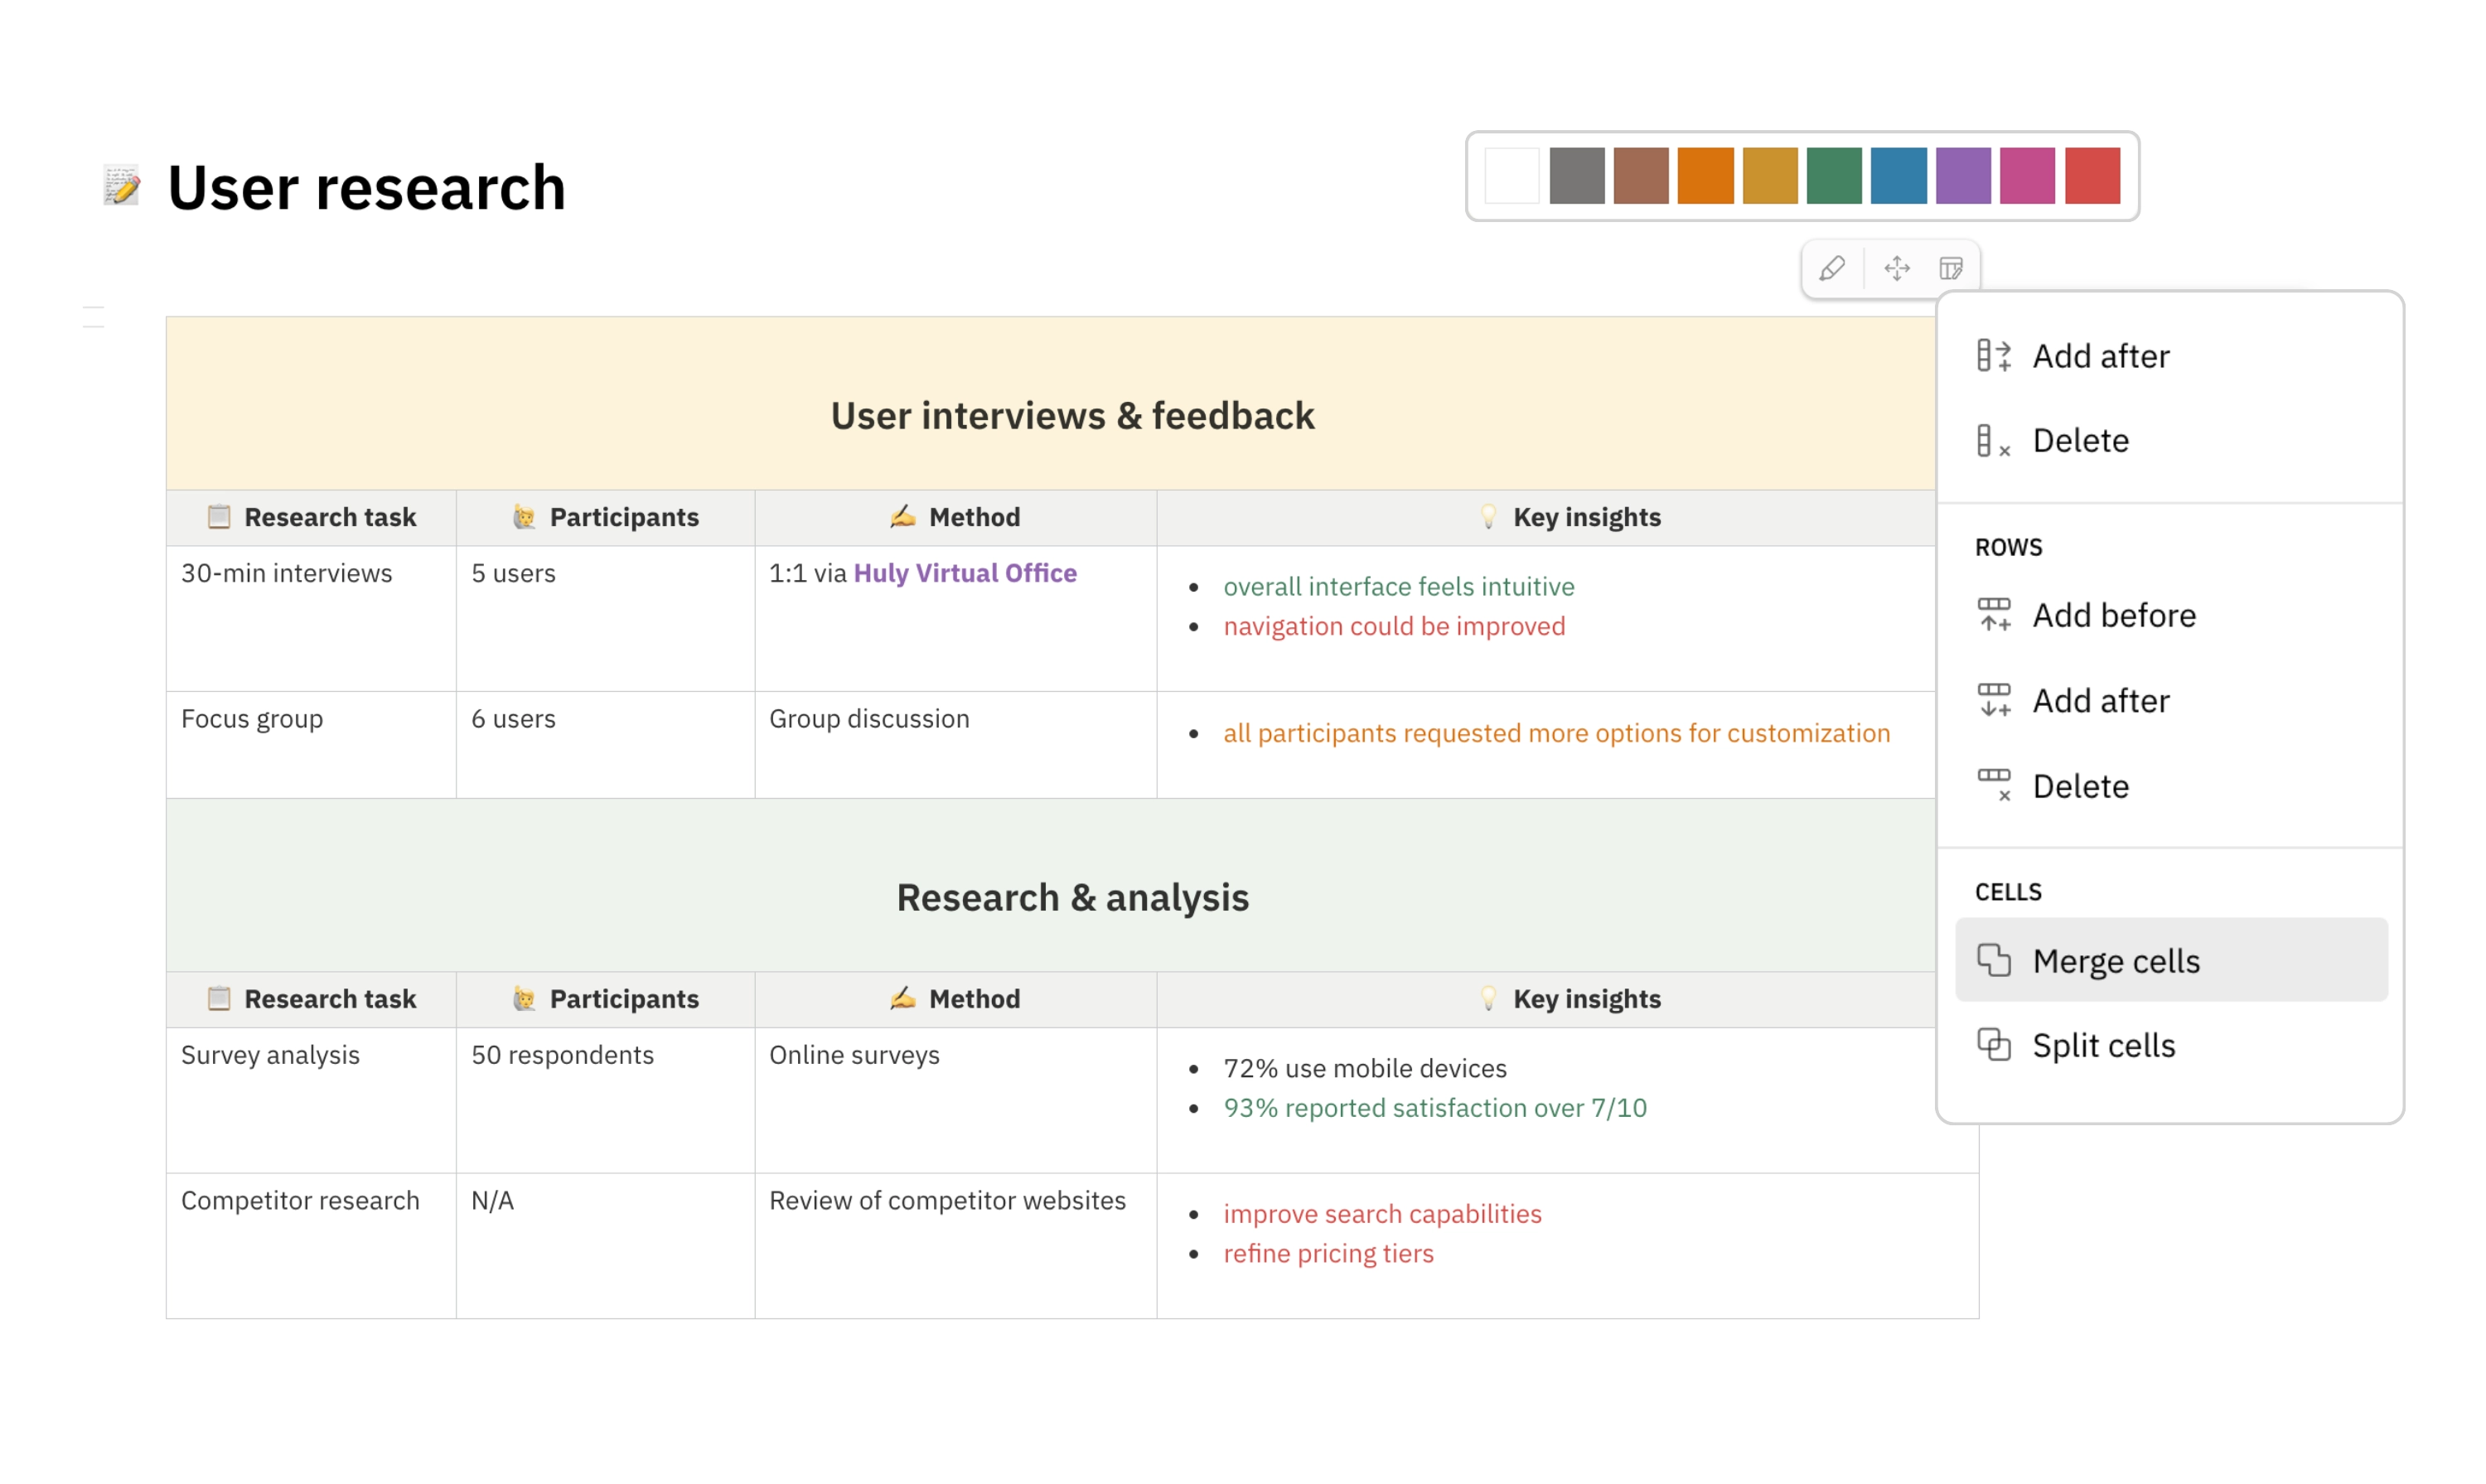
A table can be insterted into a document (or anywhere tables are supported) by typing / and selecting Table. This will open a dialog where you can specify the number of rows and columns for your table.
To view options for table formatting, click on the ‘Customize table’ icon in the floating toolbar at the top right corner of the table. Here, you’ll find options to add and delete rows and columns, merge and split cells, and delete the entire table.
Also in the floating toolbar is the ‘Set cell color’ icon. Here, you can set a background color for specific table cells. The colors dynamically adapt to dark and light mode interfaces.
You can also resize columns by clicking and dragging the lines between them.

Viewing backlinks
To view everywhere a document has been mentioned, click the paper clip icon in the top right corner. This will open a side panel showing everywhere an @mention has been used to link to that document.
Backlinks will also appear in the Activity section at the bottom of the document.
Download and print as PDF
Documents can be downloaded and printed as PDFs. This feature is useful for creating files to share with clients and other external contacts outside your workspace.
To generate a PDF of a document, click the ... settings menu and select Print to PDF. It may take a few seconds to load the PDF preview.
From the preview window, you can choose to download or print the document.
Note: Your document title and icon will be visible on the PDF version.